

Everyone has a perfect Magnum match. Shop our e-bike collection by category, by use, our browser our entire lineup to narrow down your selection

Removing And Inspecting Your E-Bike’s Hydraulic Brakes
Your brakes are one of the most important safety features of your bike. Knowing how they operate, how to inspect and maintain them, and what to look for when they malfunction will go a long way in keeping you riding safely.
We’re going to review the differences between hydraulic and mechanical brakes; which Magnum bikes feature hydraulic brakes; the importance of proper brake maintenance; and how to remove, inspect, and reinstall your rear-wheel hydraulic brake. Then we’ll end with top tips to keep your brakes in great shape.
Let’s dive in. Or, you can just watch the video.
Hydraulic Vs. Mechanical Brakes
Hydraulic and mechanical brakes are both safe and effective options for your e-bike; the choice comes down to preference.
The key differences include weight (hydraulic brakes tend to be heavier), performance (hydraulics allow better modulation and increased stopping power), and maintenance (hydraulic brakes require more professional maintenance at your local shop).
For a full breakdown of these and other considerations, check out our post all about mechanical brakes.
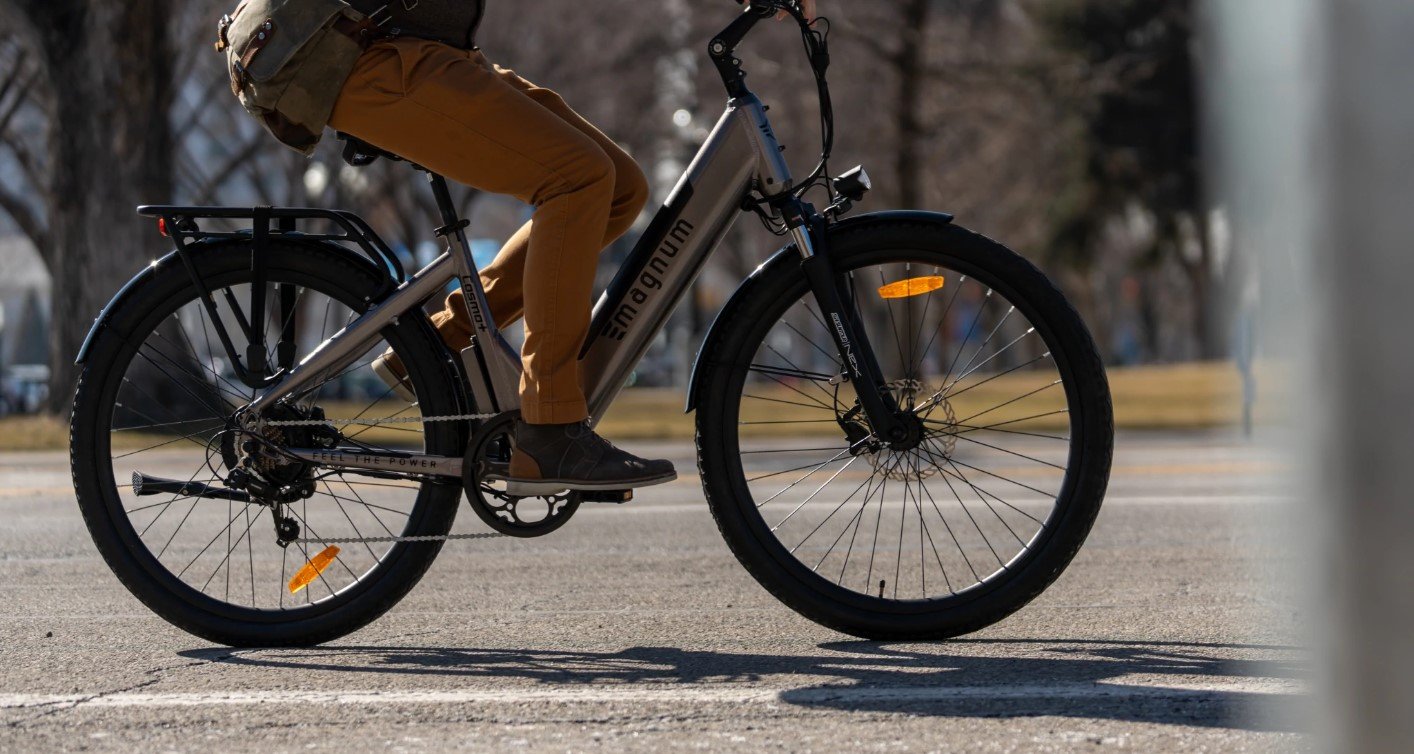
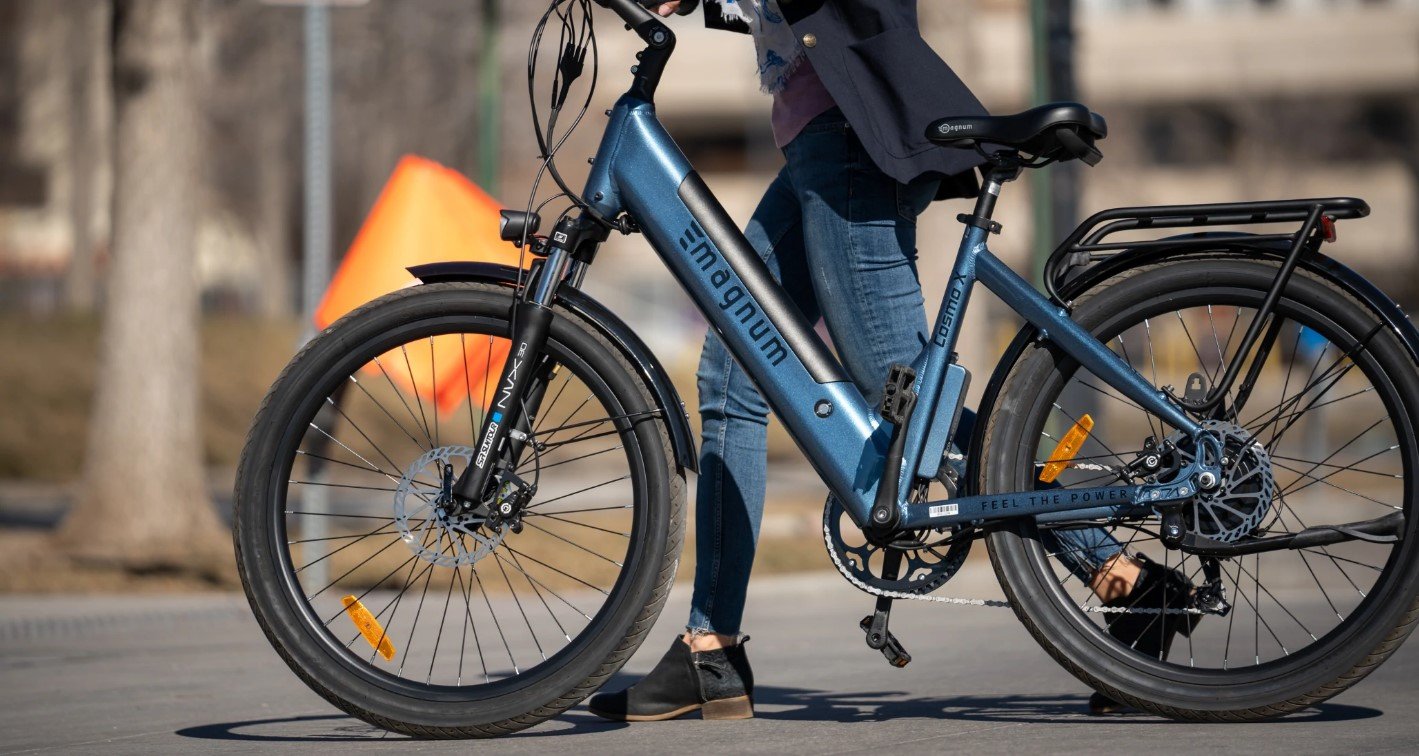
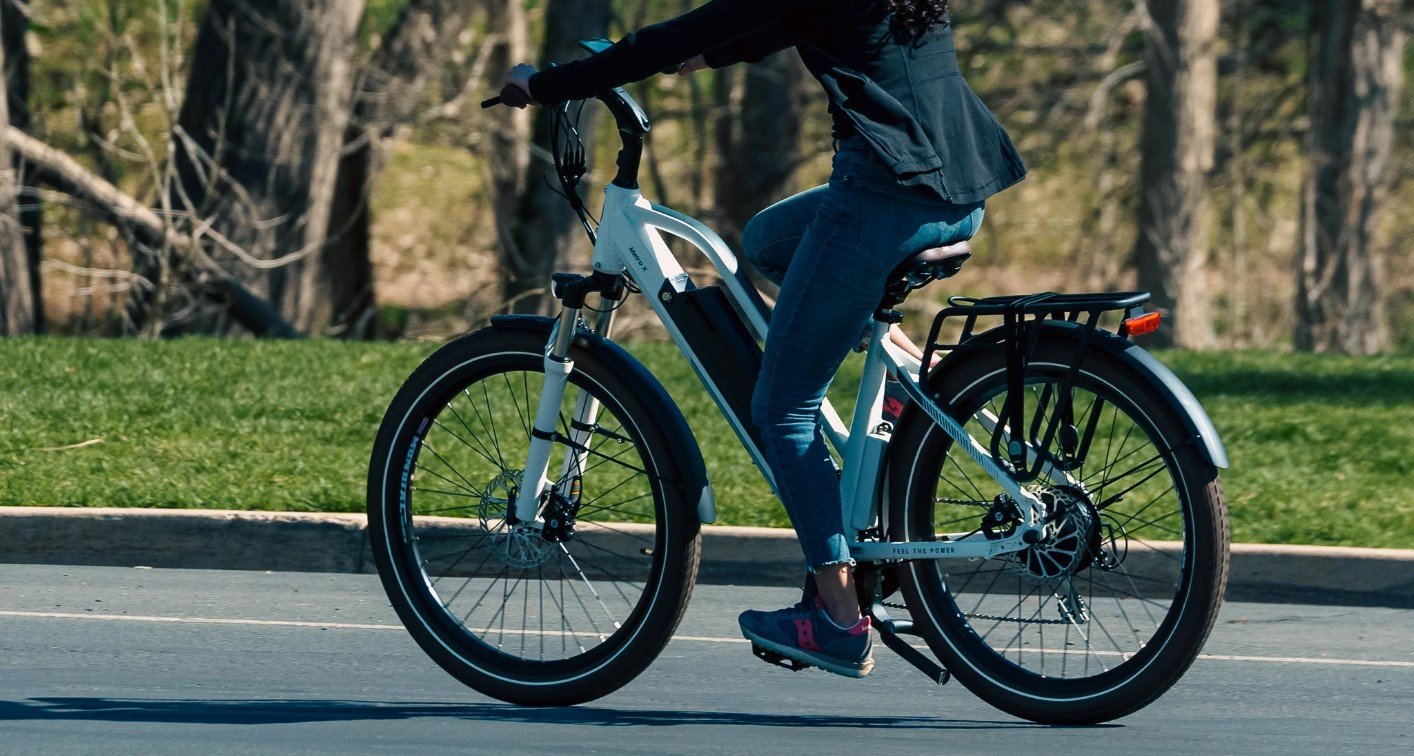
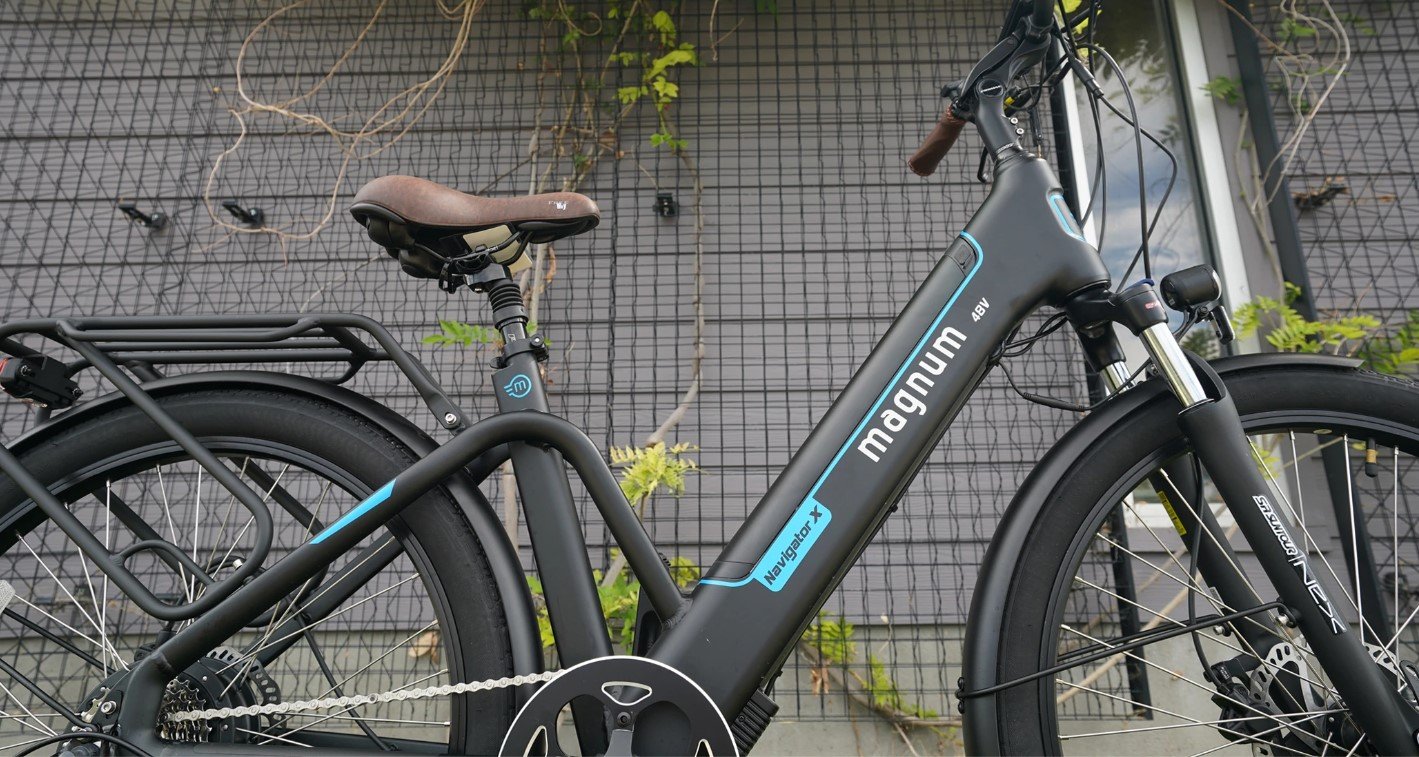
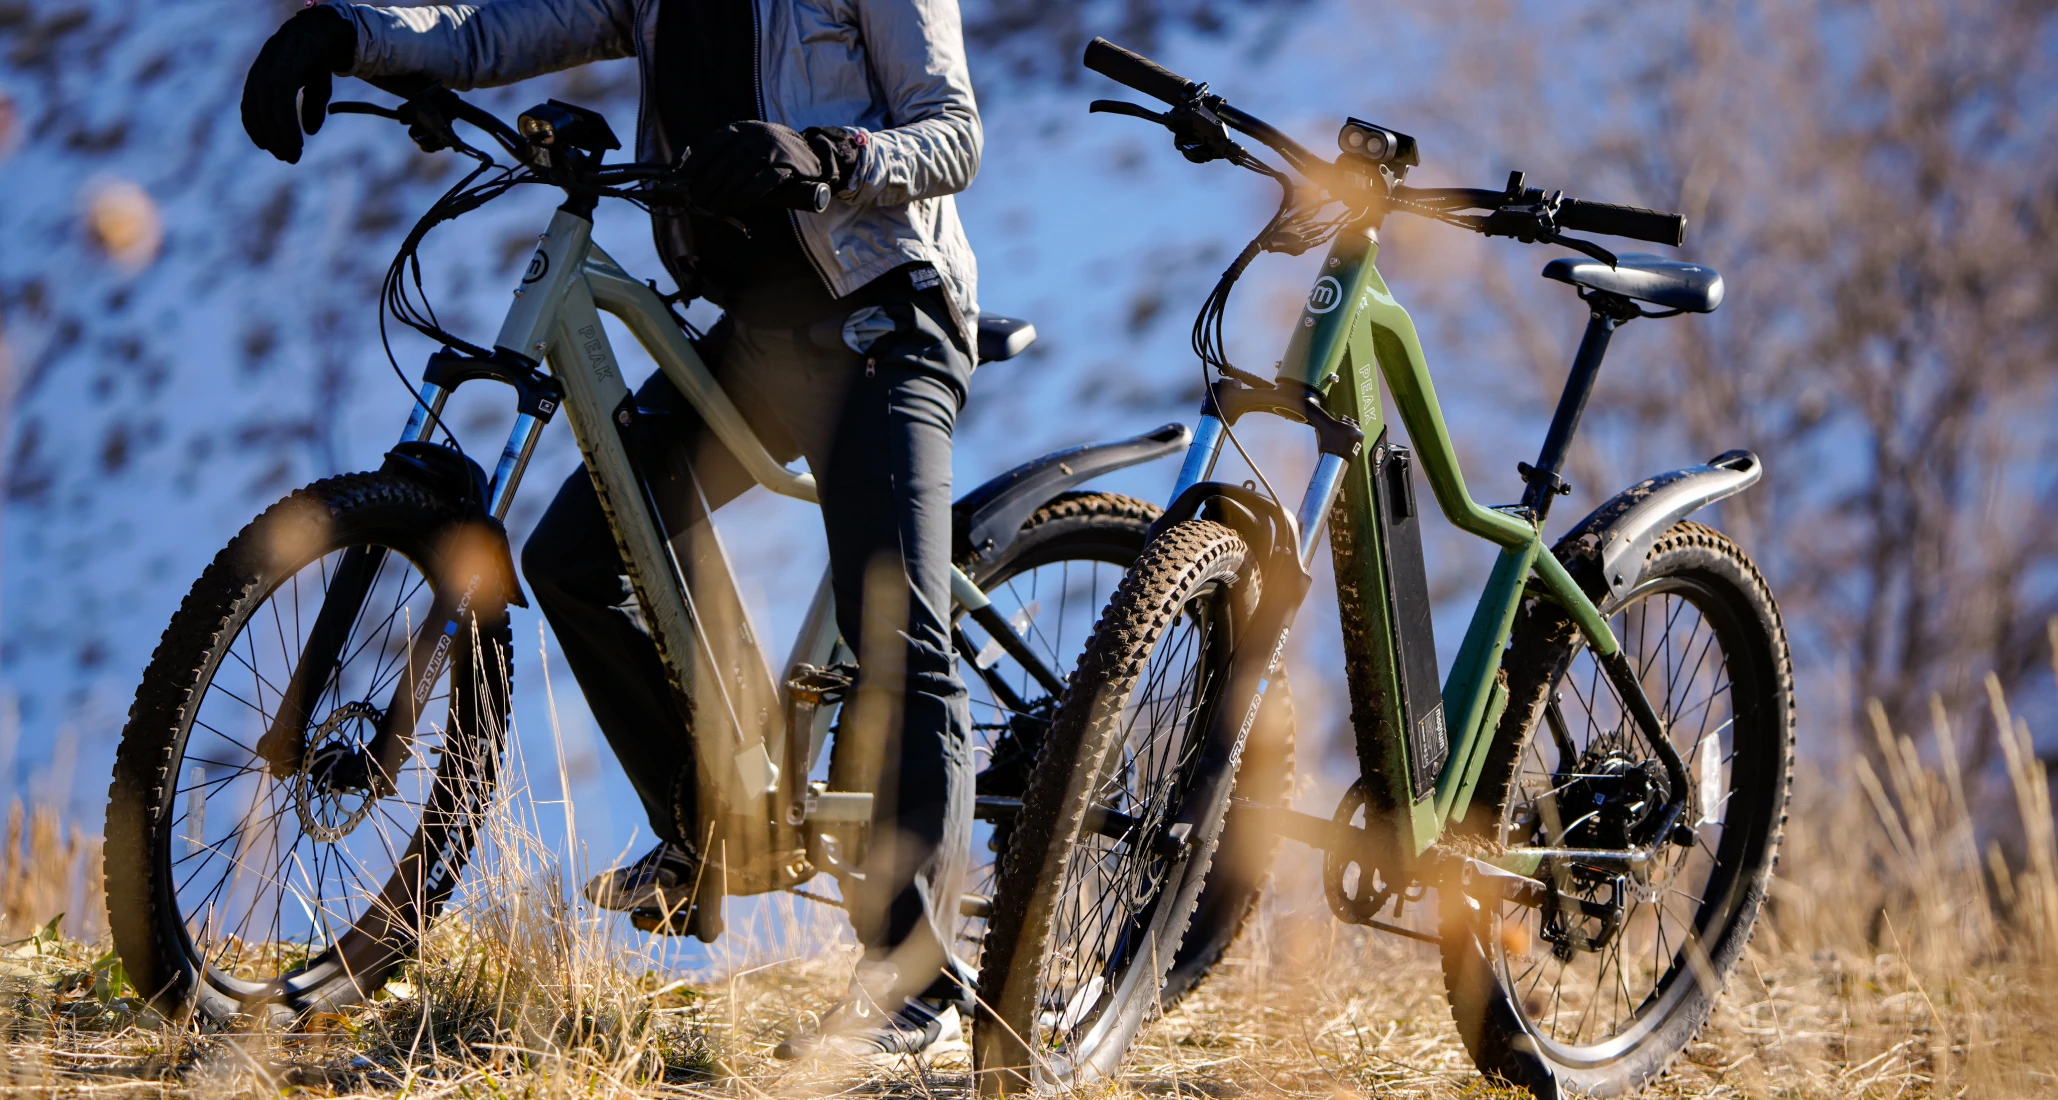
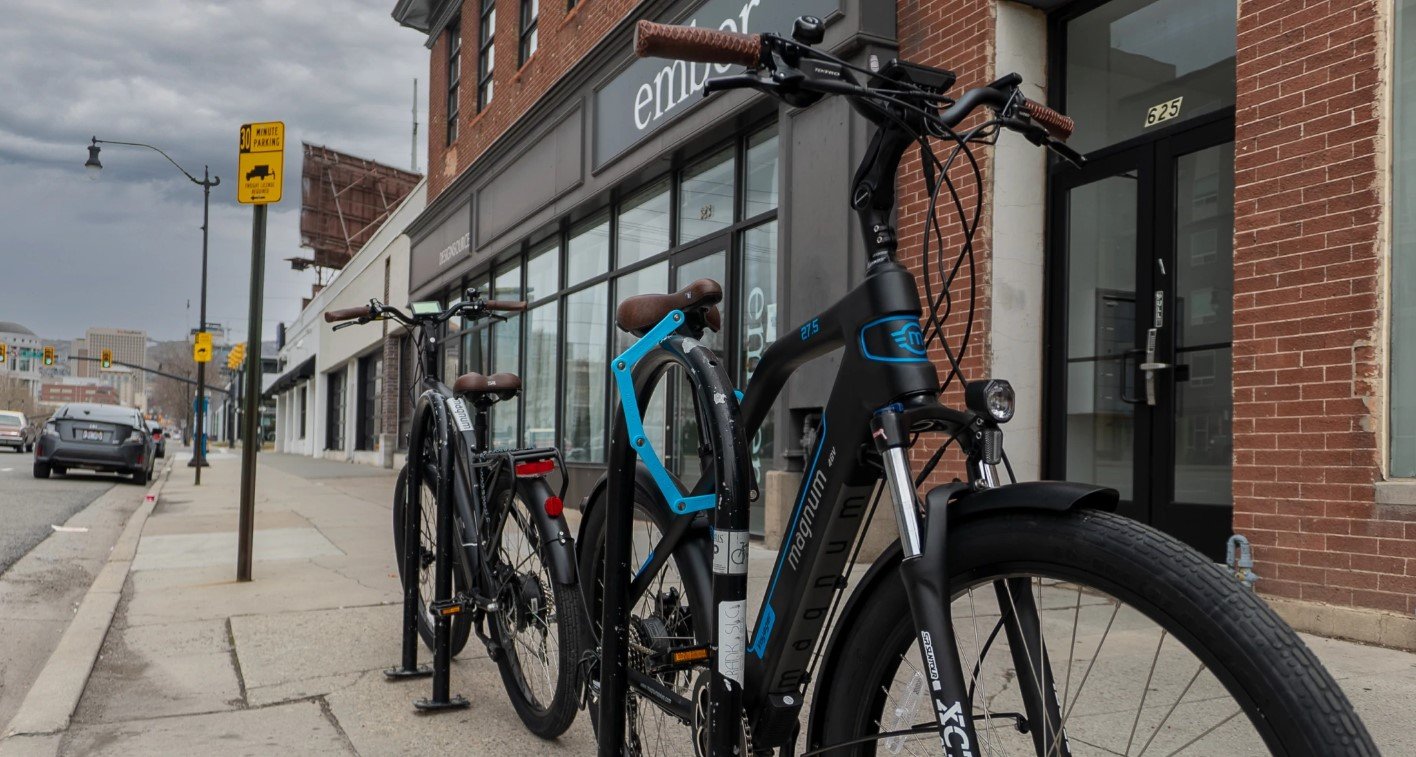
Magnum E-Bikes With Hydraulic Brakes


Why Regular Brake Inspection Is Critical For Your Safety
Riding safely means taking proper care of your e-bike. Malfunctioning brakes impair your ability to safely slow and stop, resulting in crashes, severe injury, and possibly even death.
And these risks aren’t yours alone: you put other riders, pedestrians, and drivers around you in danger, too.
While maintaining mechanical brakes is relatively simple for the home mechanic, that’s not usually the case for hydraulic brakes. Performing maintenance or repairs incorrectly can damage your bike, and there’s a higher risk of that with the complex nature of hydraulic brakes.
If anything you read here or in your e-bike manual isn’t clear, please make an appointment with a Magnum dealer. They’ll be happy to safely service your bike. Unsafe brakes can lead to serious injury or death.
Is The Hydraulic Brake Removal Process The Same On All E-Bikes?
Whether you’re a Magnum Bikes owner or not, the steps you’d take to remove and reinstall your rear hydraulic e-bike brakes will be similar. That said, always consult your manual or take your bike to a reputable shop if you have any questions about working on your bike.
Equipment You Will Need
Different makes and models of e-bike may use varied bolt sizes; make sure you have the appropriately sized tools before you begin.
- Allen wrench(es) that fit your retainer bolt and derailleur guard bolt sizes (ex. 3mm and 5mm wrench)
- Micrometer, or ruler/measuring tape with millimeter measurements
- 60-80 grit sandpaper
- Rag/cloth
- 99% isopropyl alcohol
How to Remove The Hydraulic Brake On Your E-Bike
Remember: safe and comprehensive hydraulic bike maintenance is best performed by an experienced mechanic. Should you need to disassemble the brakes yourself, here’s how — but if you get stuck, please take your bike to your local shop to safely complete the process.
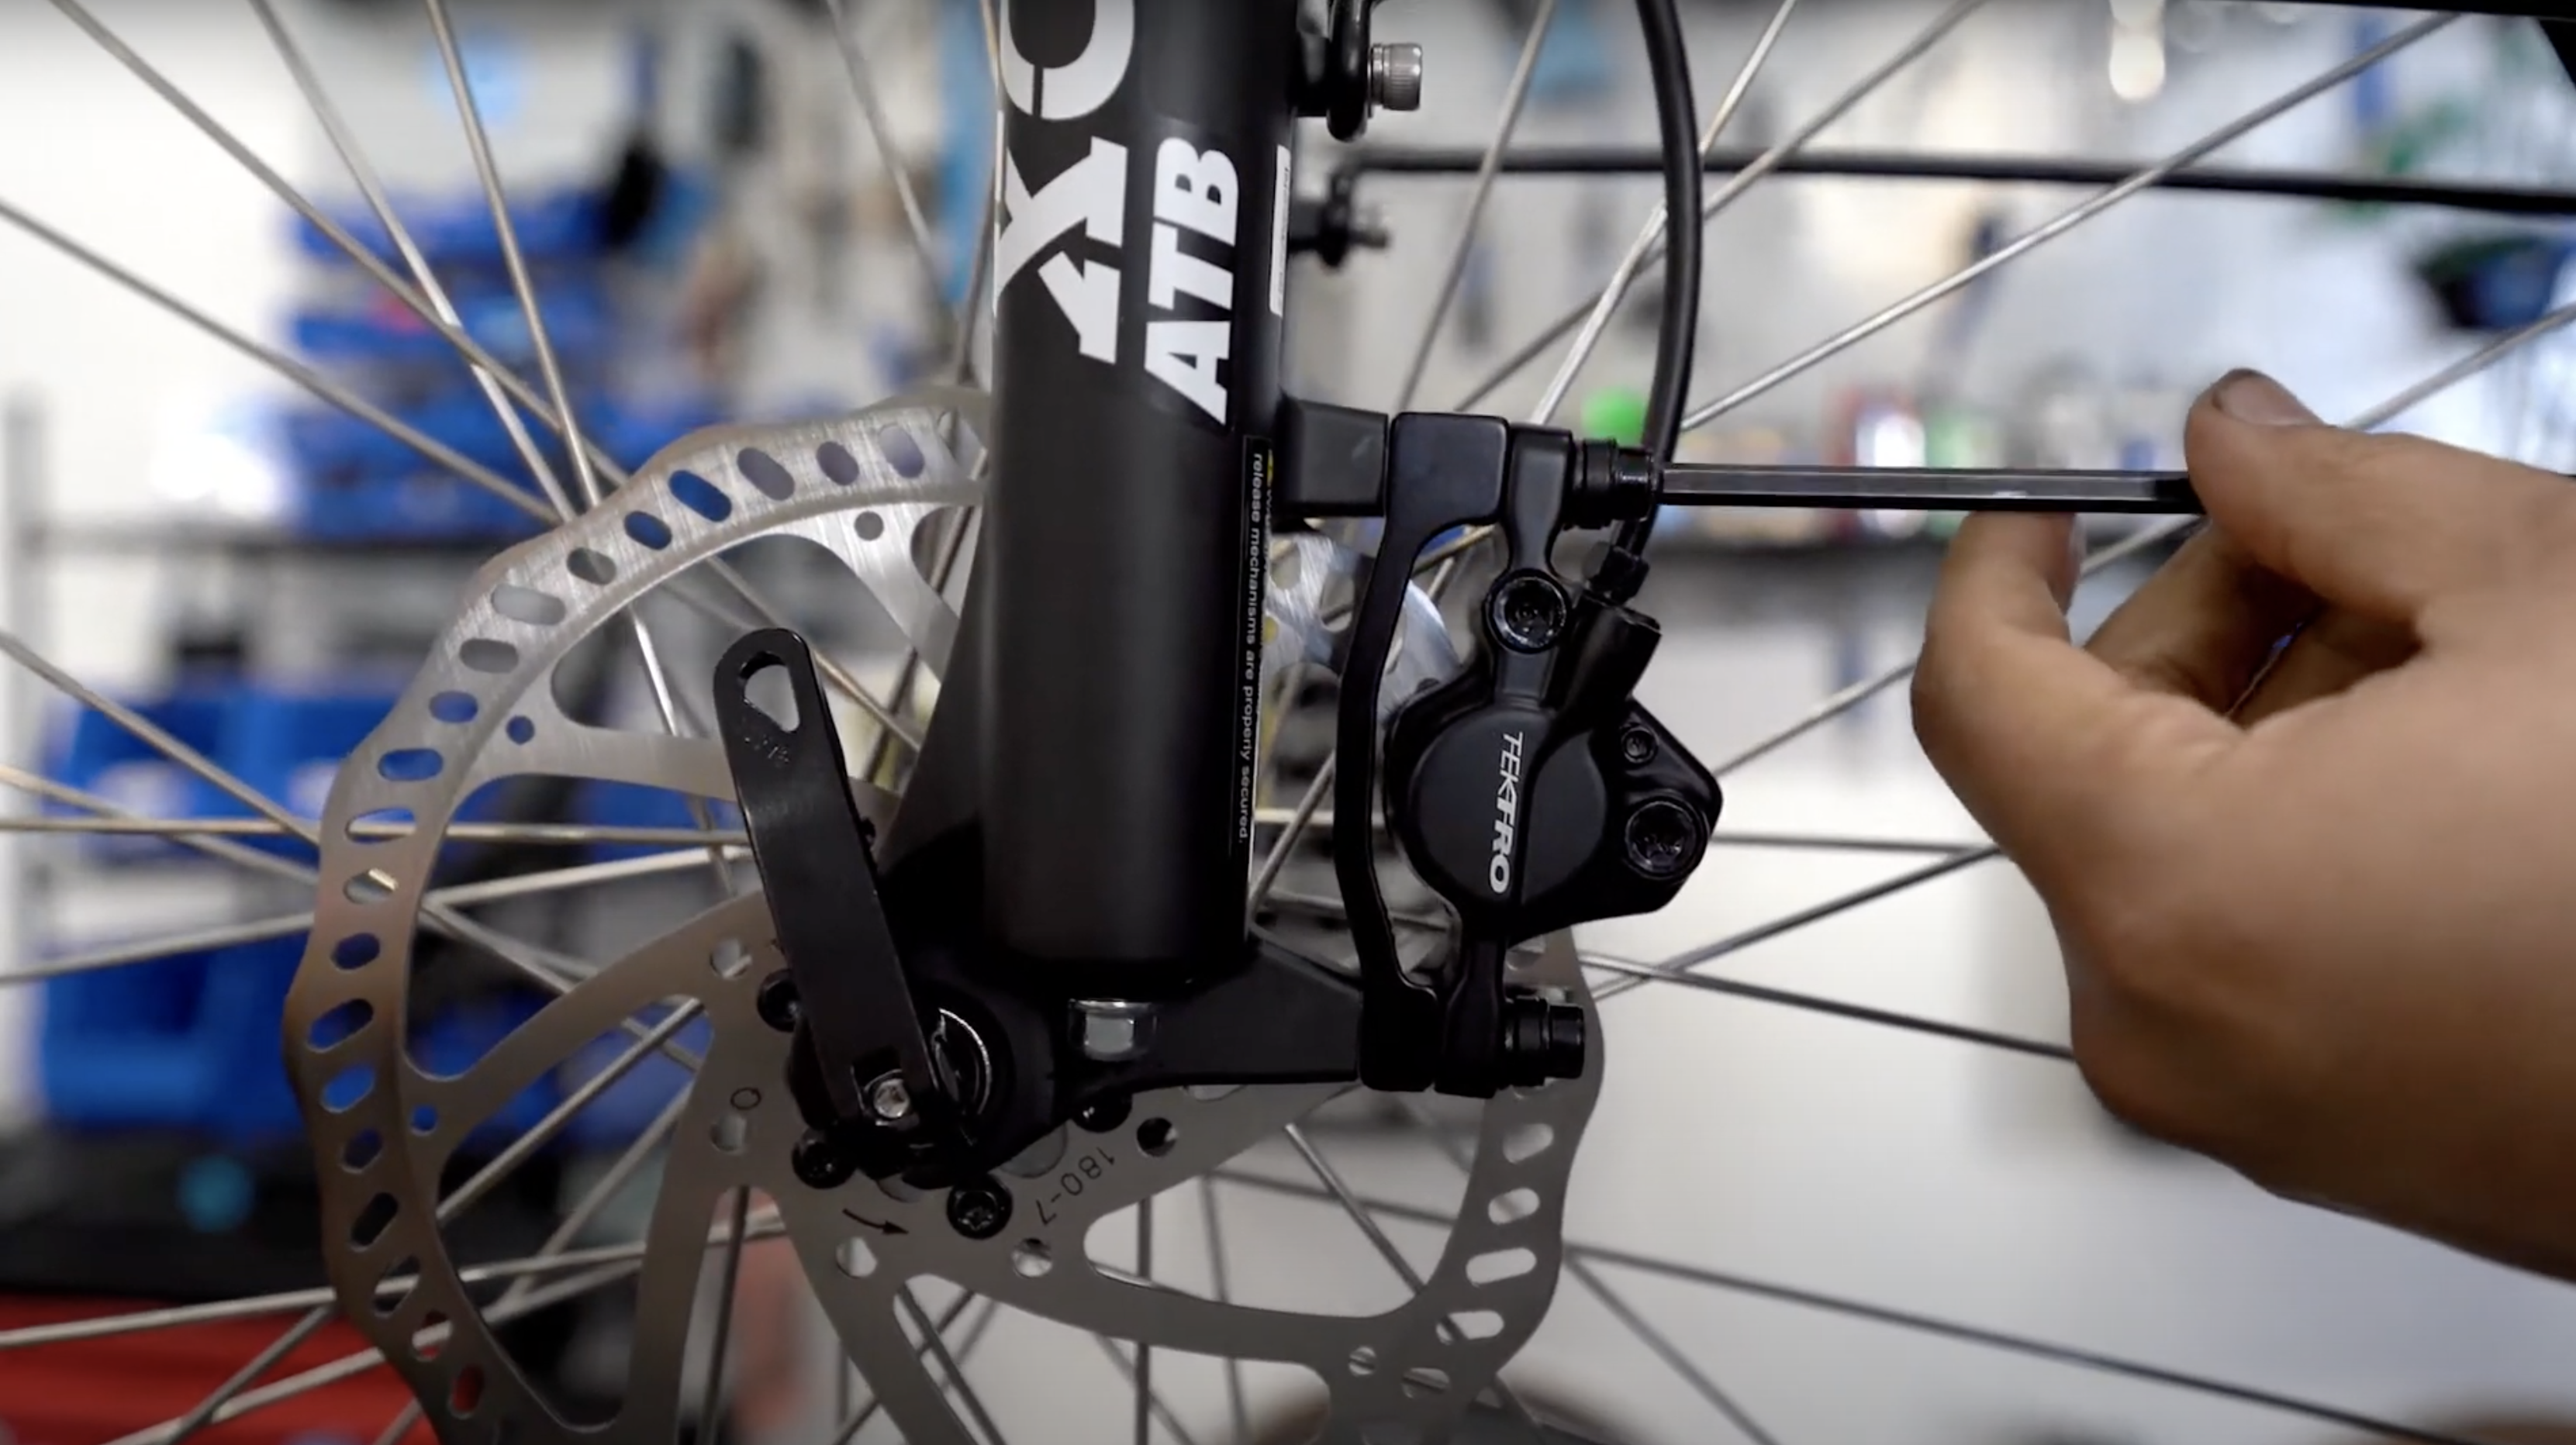
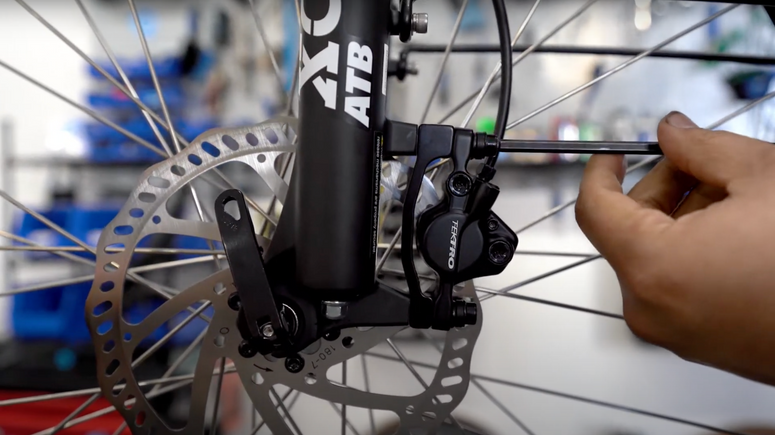
Step 1: Remove Adapter and Bolts
Grab the Allen wrench that matches the size of the bolts on your brake caliper and adapter — 5mm, or whatever fits your bike. Remove the brake from the frame and take out the adapter (the piece that sits in between the brake and the frame).
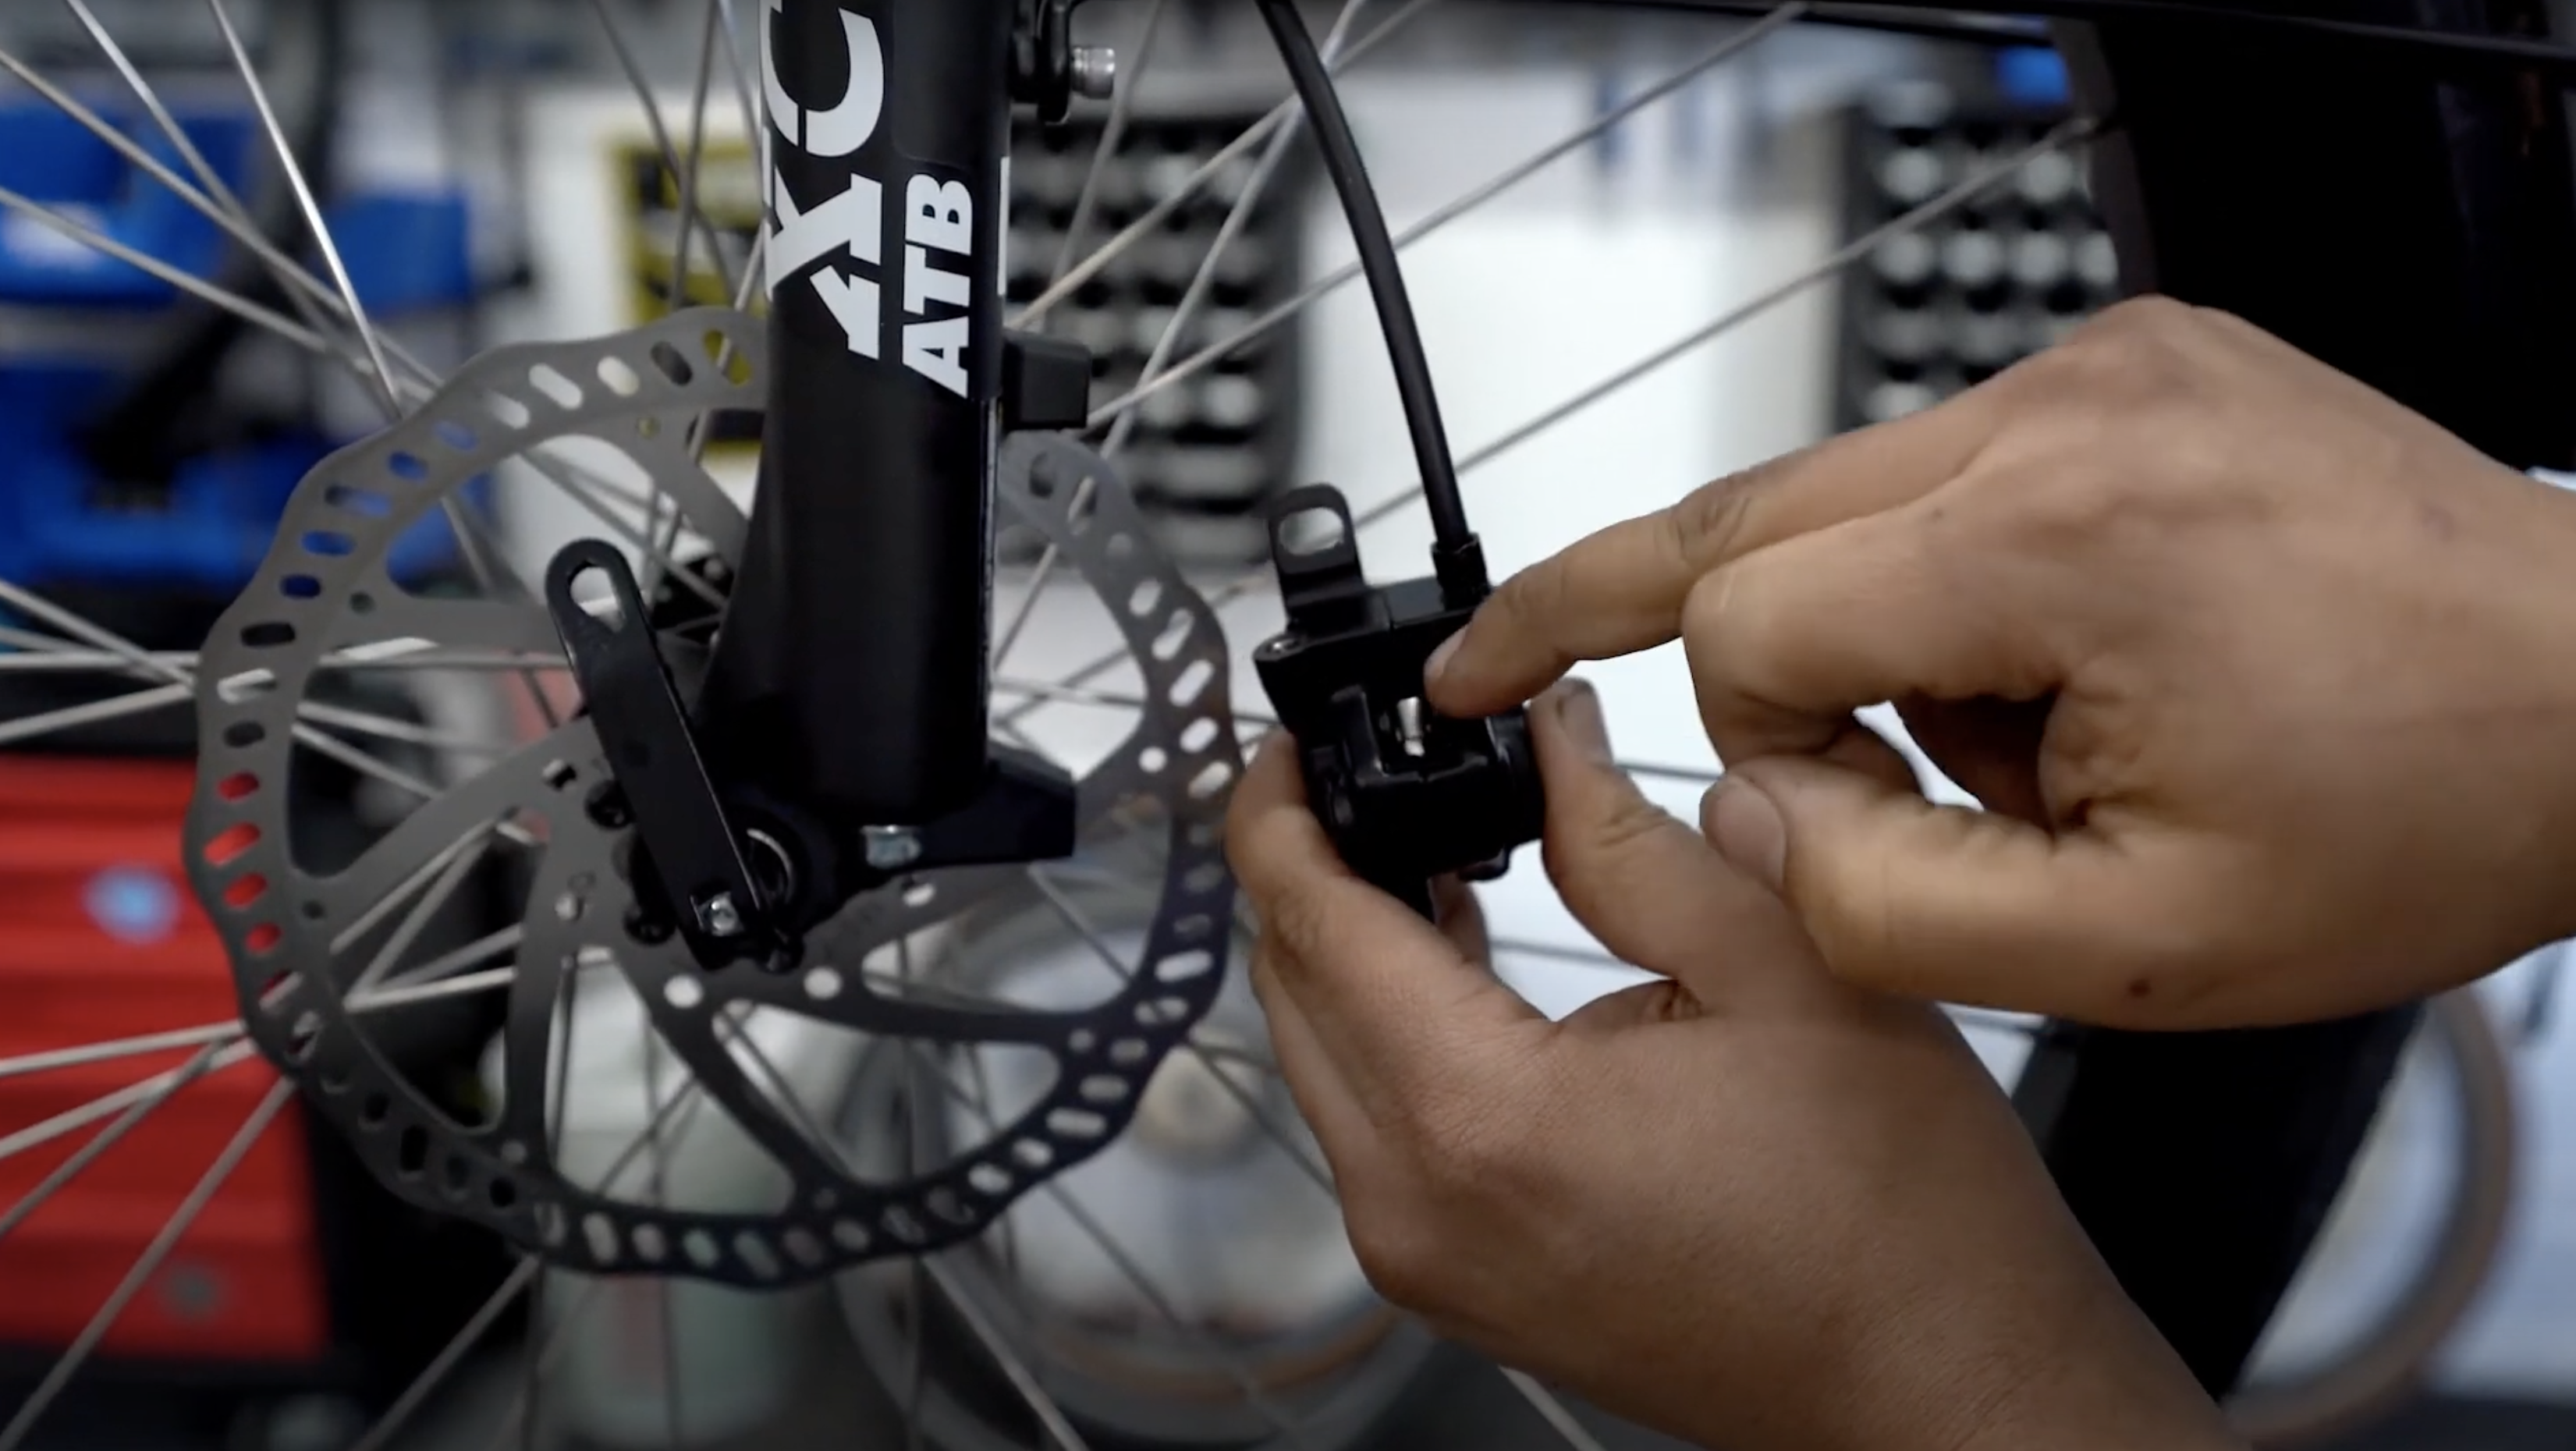
 Remove bolts and adapter; keep them close by.
The brake will still be attached to the bike by a cable, but it should hang free now. Set the adapter and bolts aside.
Next, look for the small bolt that’s on the brake. Get the Allen wrench that fits that bolt (3mm might do the trick). Unscrew the bolt and set it aside.
Step 2: Remove Brake Pads
Look for the metal loop located inside the brake.
 Push down to release your brake pads on the other side.
When you push down on that piece, the brake pads will come out on the other side of the brake. Rotate the brake to find them, pinch them together, then remove the spring that holds both pads.
Take each brake pad off of the metal spring and set them to the side.
Inspecting And Cleaning Your Brake Pads
Now that you’ve removed them, you want to check the thickness of your brake pads. This is how you know if they’re safe to reuse with a quick cleaning, or if it’s time to replace them.
Step 1: Check Pad Thickness
If you have a micrometer handy, just insert the pad in between the metal calipers on the micrometer, clamp it to squeeze your pad, then check the reading.
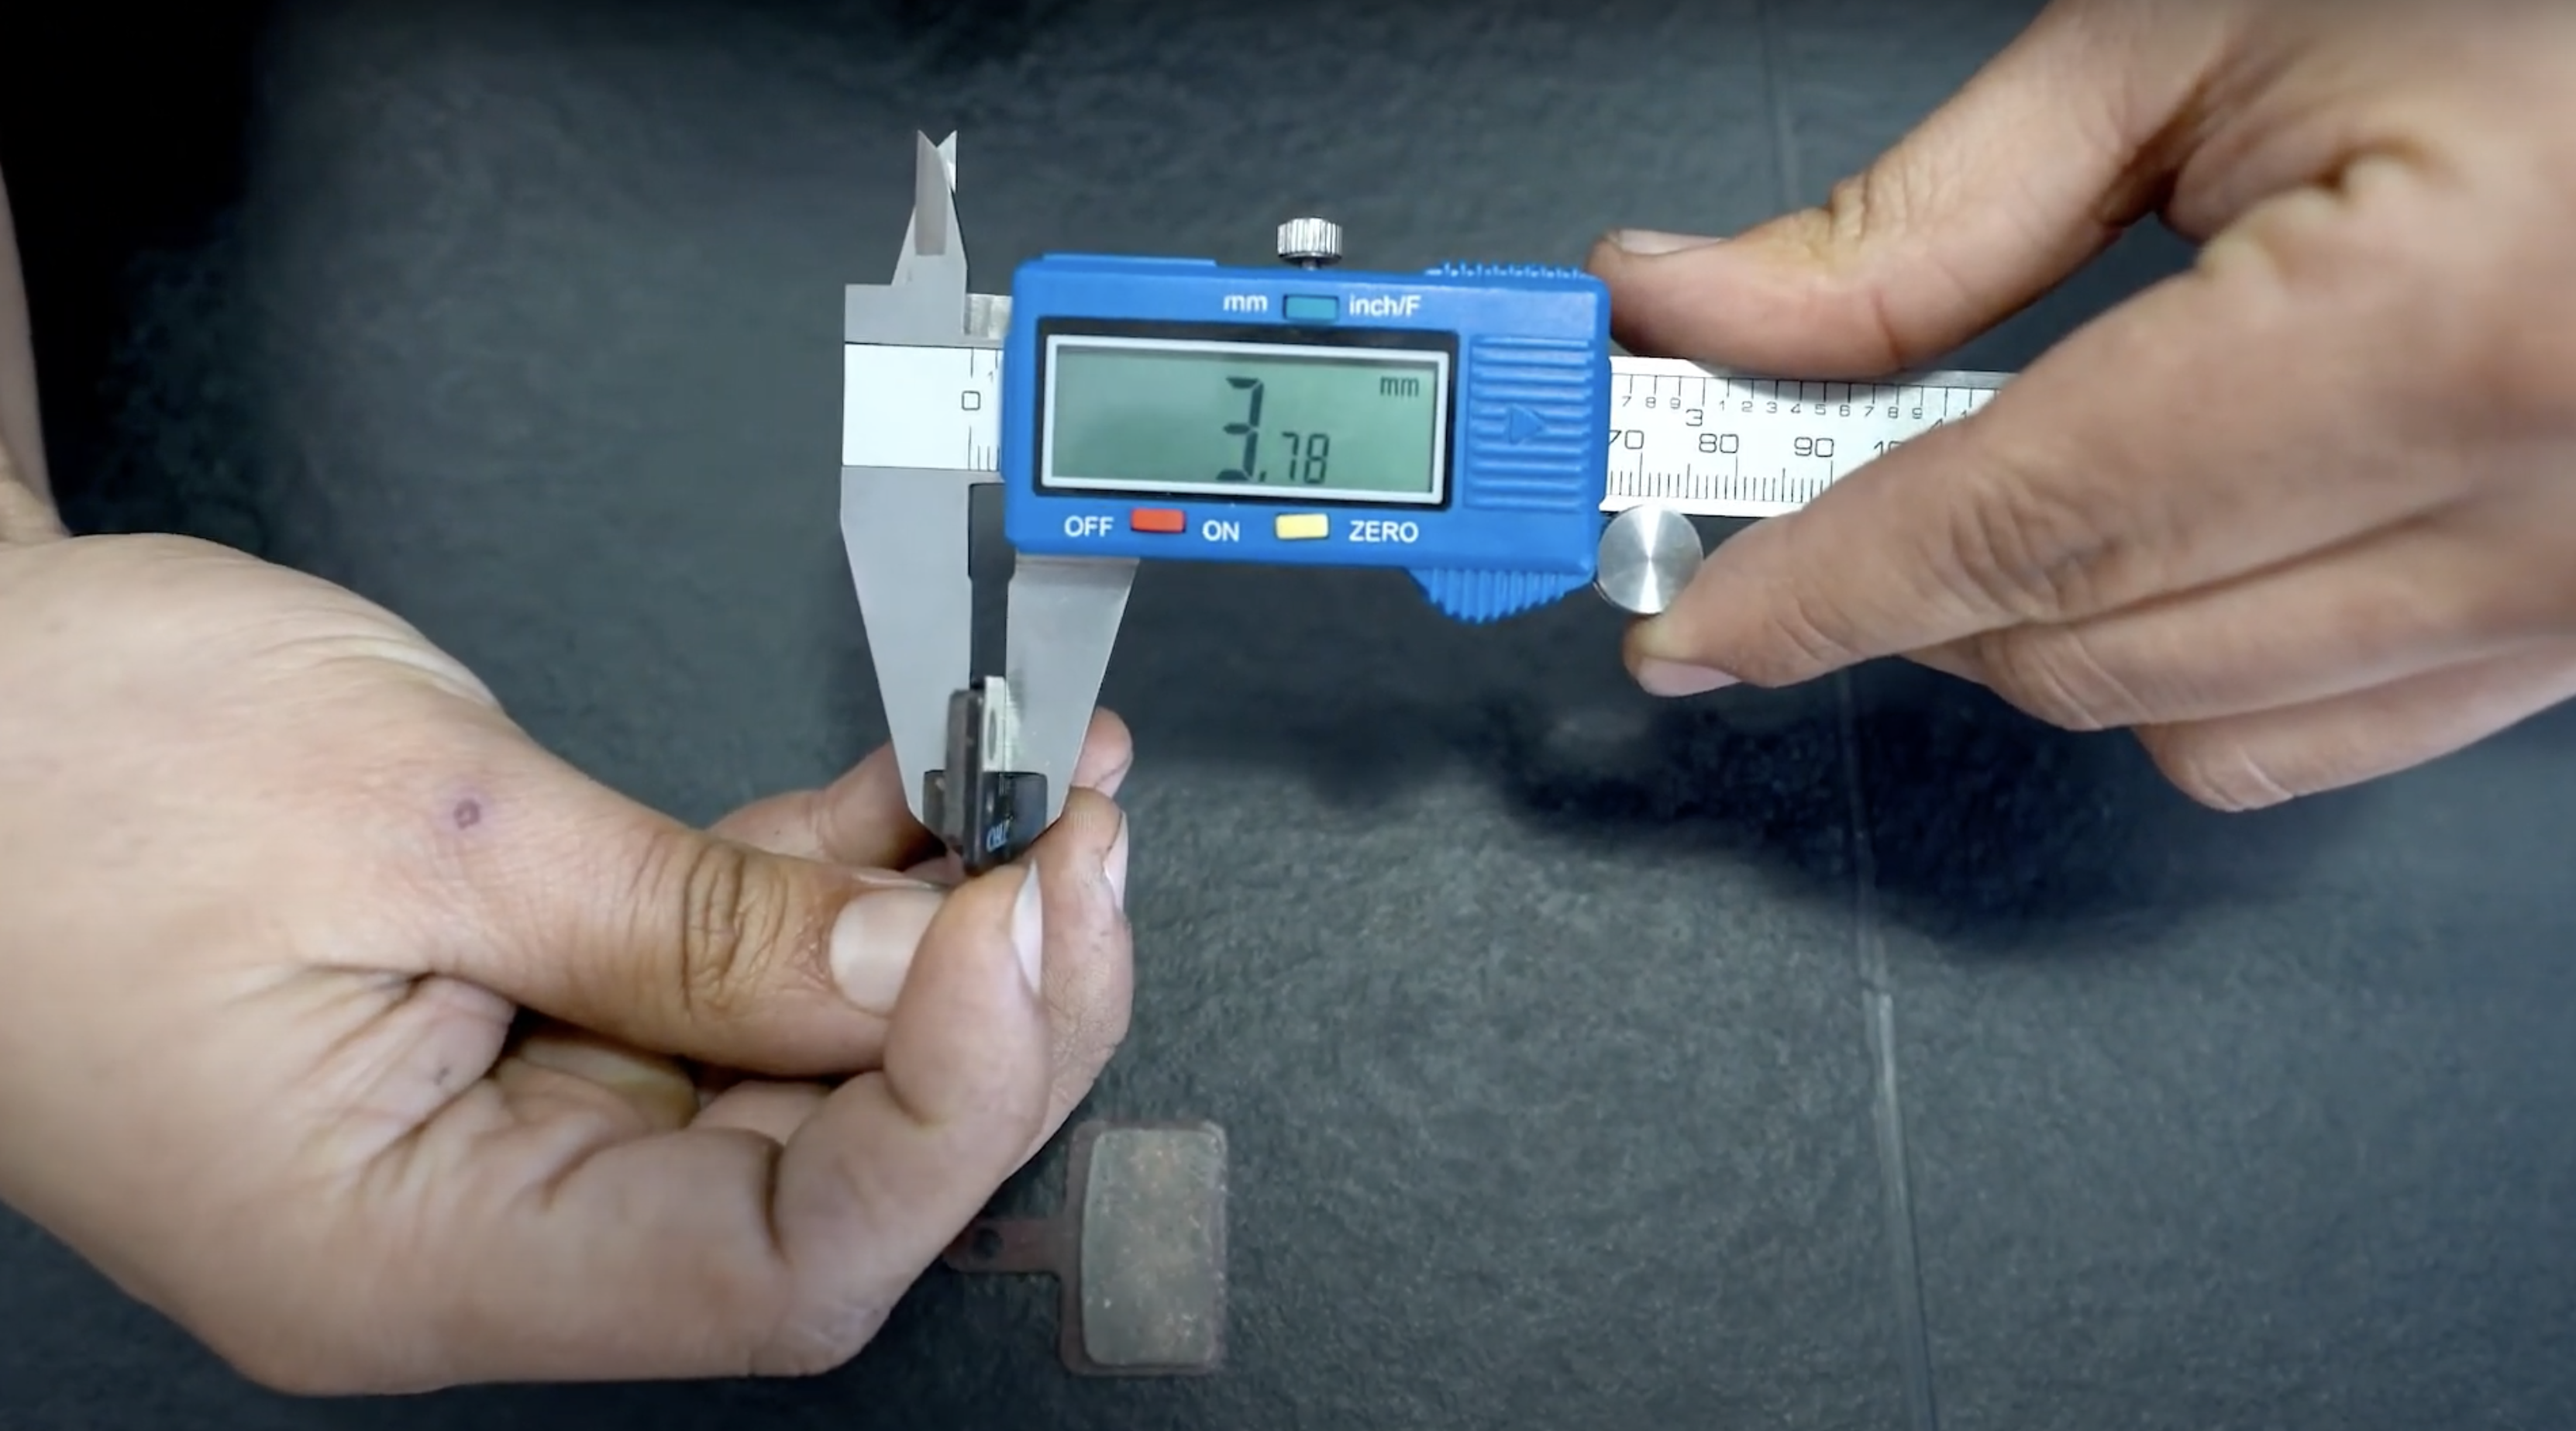 Check brake pad thickness to determine if you can reuse your pads or need new ones. Use a measuring tape or ruler if you don’t have a micrometer.
No micrometer? Grab a ruler or measuring tape that has millimeter increments.
If your brake pads are each between 3mm and 4mm, they’re still in good shape and you can clean and reinsert them. If they come in below 3mm, it’s time to get new brake pads.
Step 2: Clean Brake Pads
To prepare your 3mm-4mm brake pads for reuse, set your sandpaper grit-side up on a flat surface. Place your brake pad pad-side down and scrub the brake pad back and forth.
 Rub each brake pad face-down on sandpaper to clean.
You’ll see some black residue coming off on the sandpaper — that’s dirt and grime! Scrub each pad as much as needed to get that darker grime off. You want them to be quite a bit lighter in color than when you started and roughly the same color as one another.
Next, clean the brake itself. Spray some 99% isopropyl alcohol into the spot where the brake pads and spring were. Use your rag to wipe off any excess liquid. That’s it!
Reinstalling Your E-Bike’s Mechanical Brakes
Now it’s time to get your clean or new brake pads back onto the spring. This can be a little tricky, but you’ll get it!
You want the pad sides (the sides you just scrubbed) to face toward the inside of the spring so that each brake pad side faces the other.
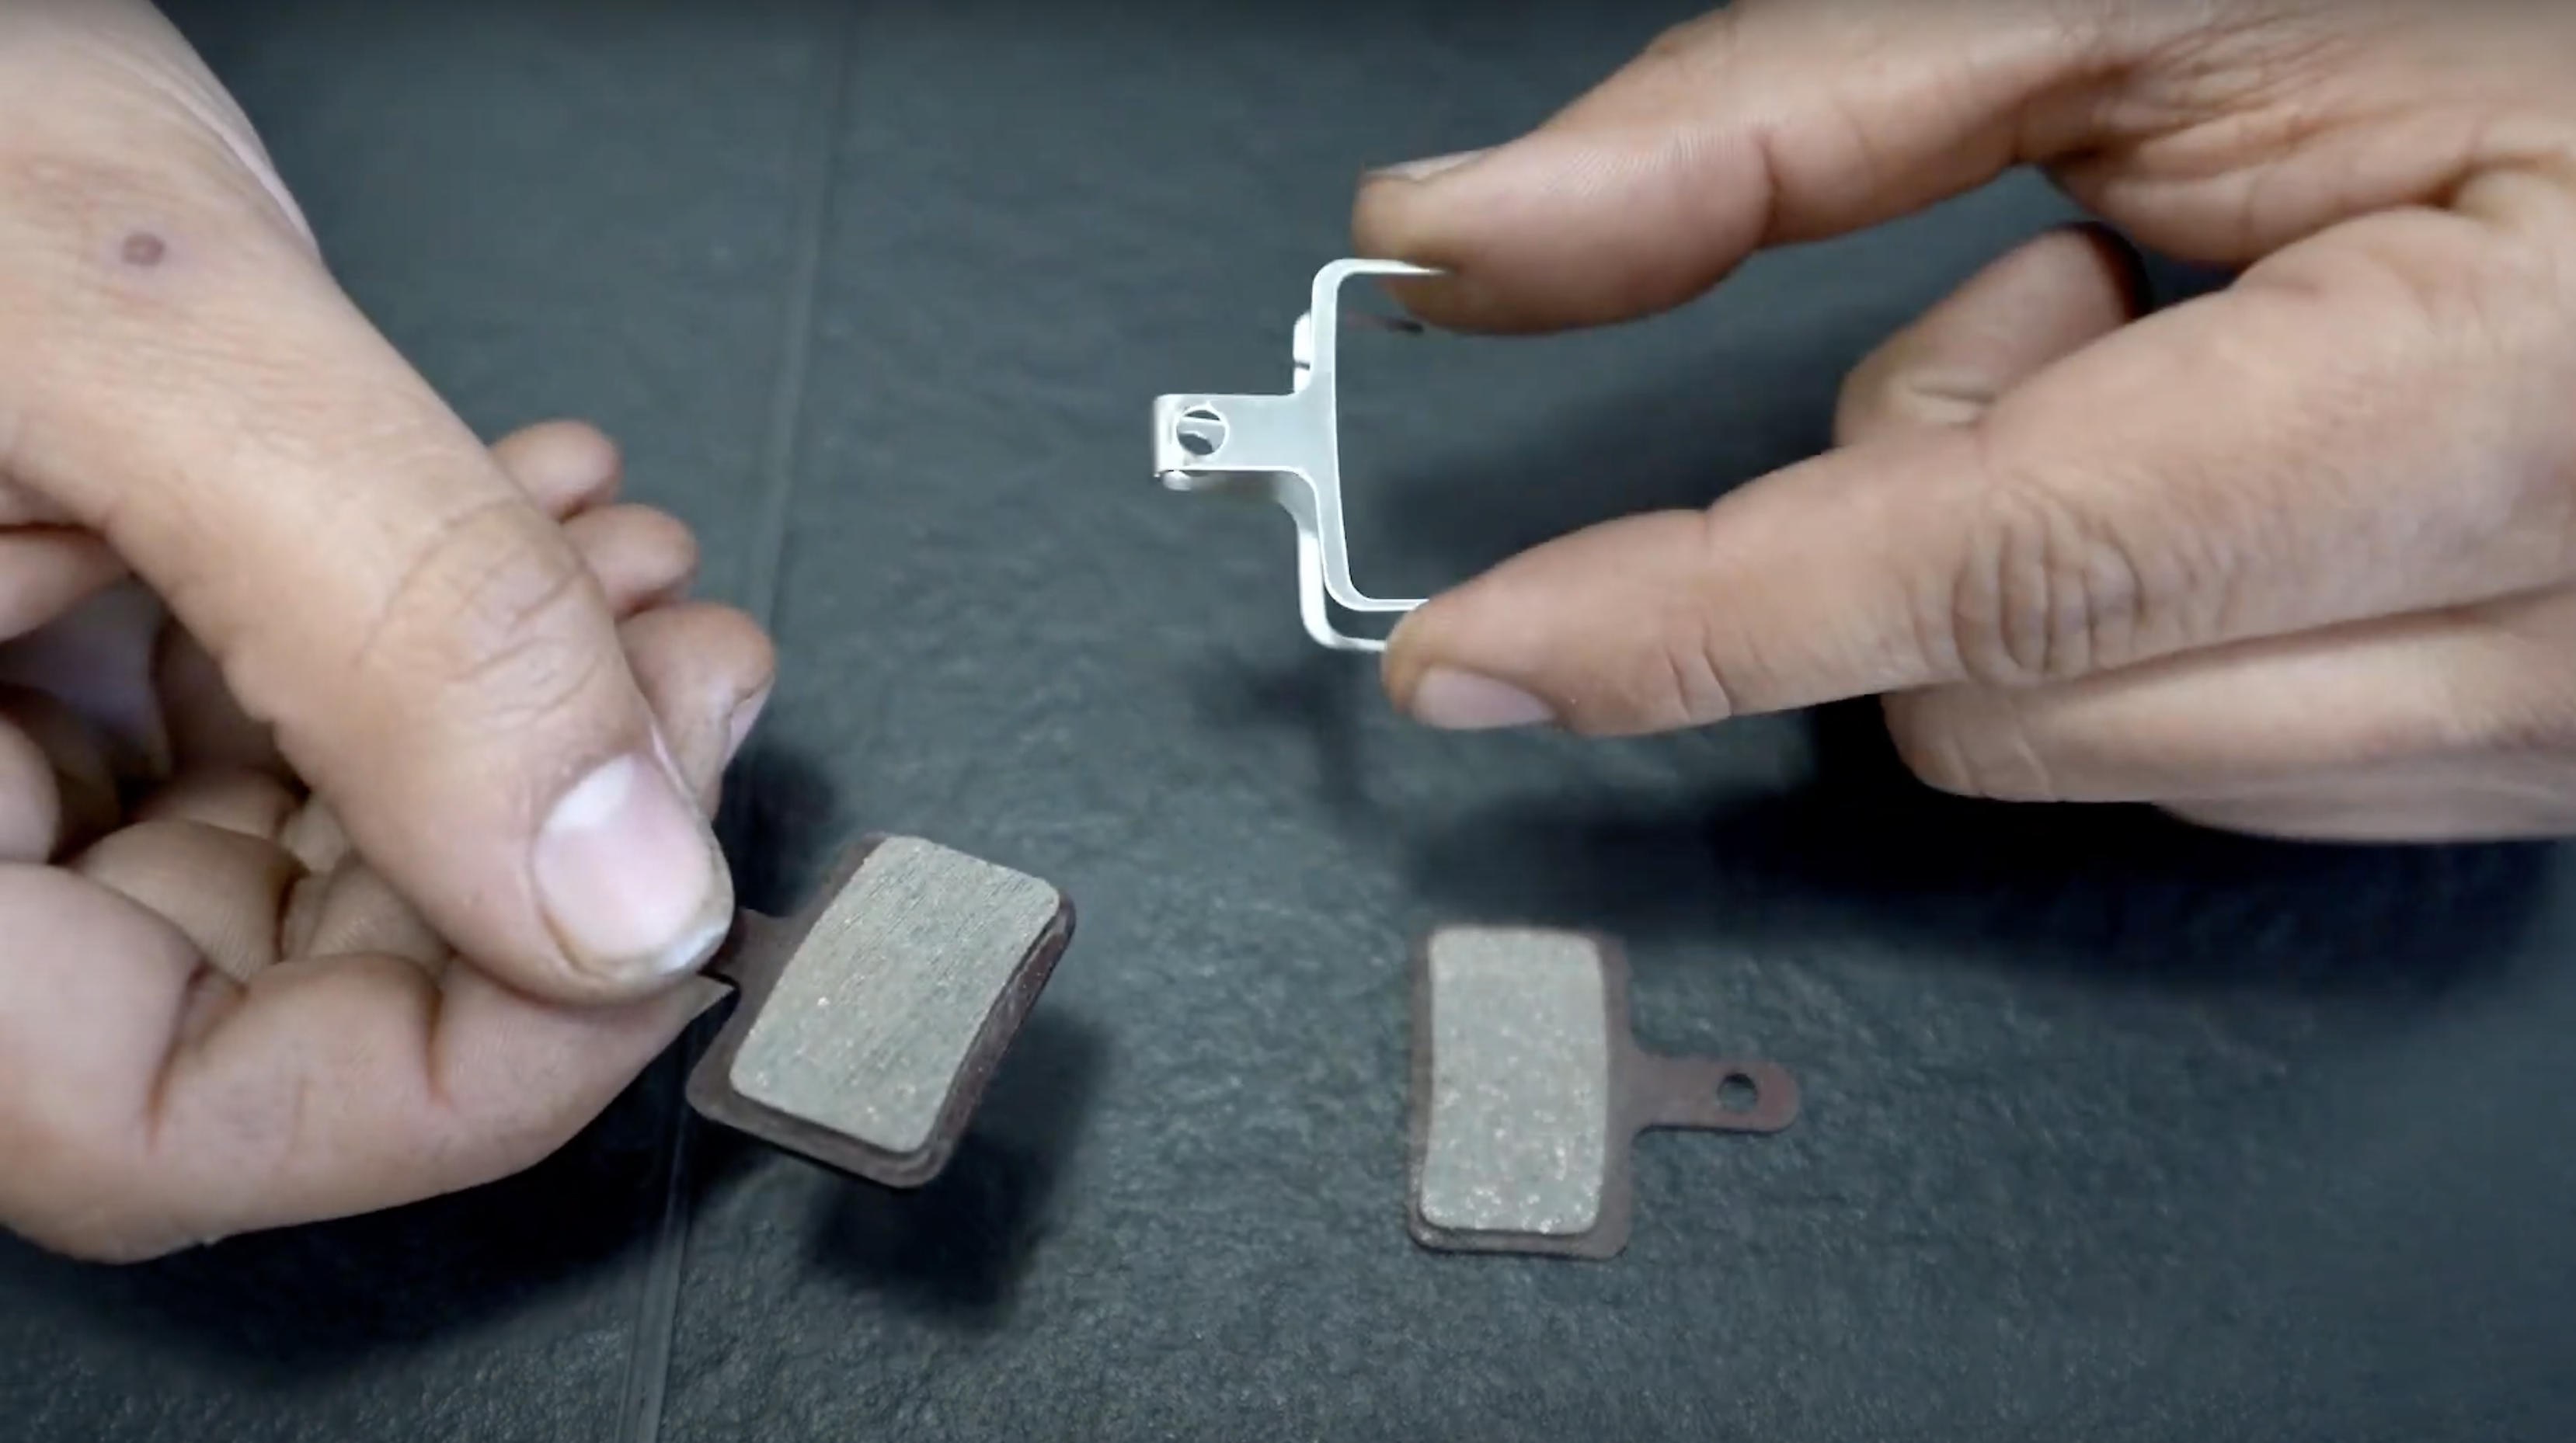 Flip your brake pad so that you no longer see the side you just scrubbed. Insert it onto the spring with that pad side facing in (the side shown here). Repeat with the other pad.
Then just wiggle them onto the spring until they sit firmly in place.
Now you can load the clean brake pads back into your freshly cleaned brake. Pinch the pads together and push them into the brake at a slight angle; push until you hear a click.
Now grab the bolt that you took off of the brake itself (the smaller, single bolt). Reinsert it and use your Allen wrench to tighten.
Find the adapter and make sure it’s facing the right way. On Magnum e-bikes, you’ll have an “Up” arrow printed right on the adapter to make it easy.
Set your onto the rotor so that the brake pads straddle each side of the rotor. Now put your adapter between the brake and the frame line up the adapter to the mounts, and put those bolts back in. You can start with your fingers and then finish tightening with the appropriate wrench.
Top Tips For Hydraulic Brake Care And Maintenance
1. Keep your bike clean! Your whole bike needs to stay clean, and that goes for your brakes, too. Make sure to use that 99% isopropyl alcohol or other cleaner designed specifically for hydraulic e-bike brakes. Using another material, such as solvent or soapy water, can prevent your brake pads from gripping the rotor properly.
2. Add appropriate lubrication to brakes and cables. Do this about every month, depending on how much you ride. Be sure to only use lubricants that are made for hydraulic brakes, and avoid oil at all costs.
- If your brakes start making a noise when activated or if they just aren’t operating like you’re used to, they may have been exposed to oil.
- In that case, get off your bike immediately and take it to a shop for service; it’s not safe to ride with oil on your brakes.
3. Check brake lever pressure. Check this before every ride to ensure you can stop comfortably and safely.
4. Inspect brake pads. We recommend checking your brake pads weekly to ensure they’re operating as they should.
5. Bleed your hydraulic brakes. Unlike mechanical brakes, hydraulic brakes use brake fluid that needs to be replaced (bled) about 1-2x per year. This needs to be done by a professional at a local shop; don’t do it yourself! You’ll know it's time to bleed your brakes if:
- Your brakes feel spongy
- You need to depress your brake lever all the way to your handlebar just to slow and stop
6. Replace brakes, pads, and cables when needed. Brake pads and cables typically need to be replaced about once per year.
Watch The Video
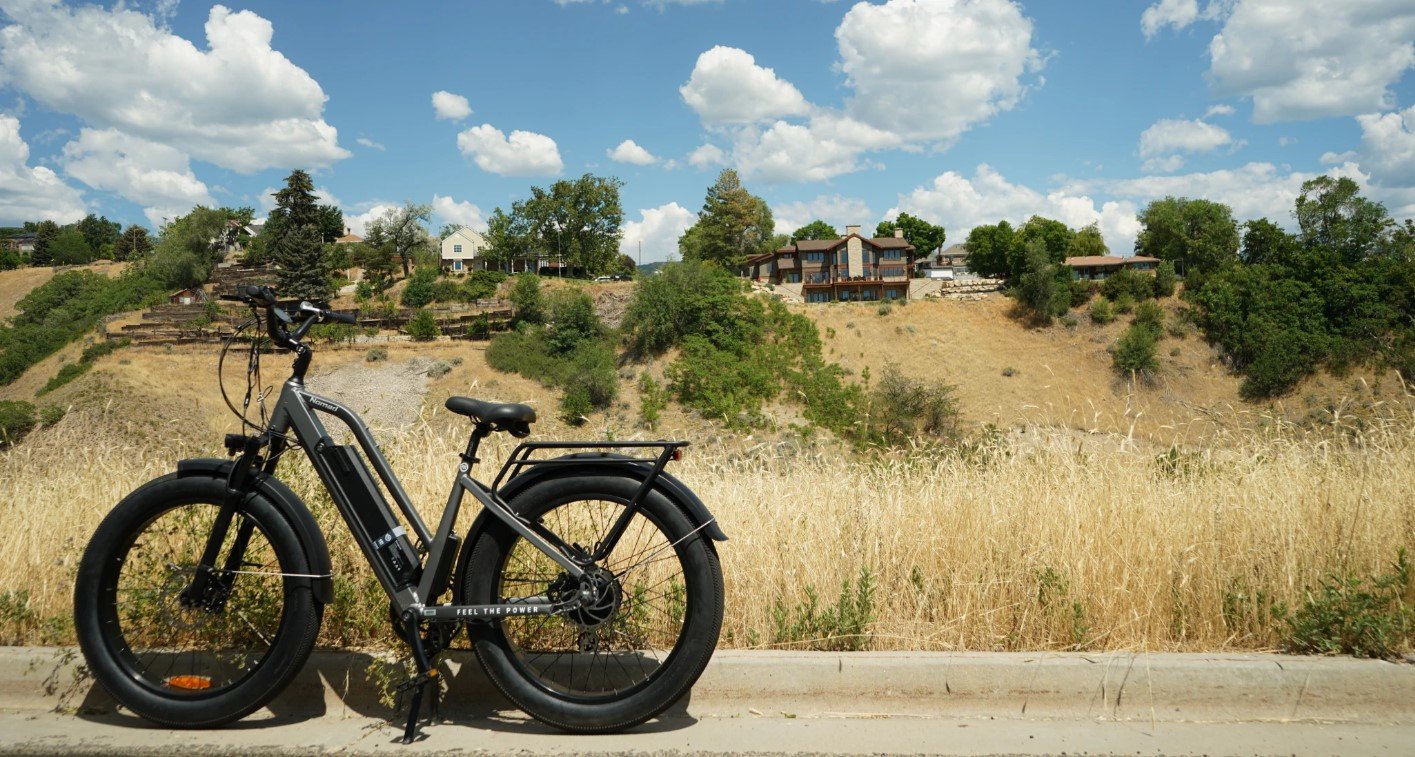
Ranger 1.0
Looking for a powerful ride on a larger frame? This robust cruiser e-bike boasts a plush seat and fat tires, a long-range battery, powerful motor, and top-of-the-line hydraulic brakes.
Ranger 1.0
Looking for a powerful ride on a larger frame? This robust cruiser e-bike boasts a plush seat and fat tires, a long-range battery, powerful motor, and top-of-the-line hydraulic brakes.

