How To Use A Das-Kit C7 Display
Understanding your e-bike's display and controls is crucial for an optimal riding experience.
In this article, we'll provide a detailed overview of the controls, settings, and features found on Magnum’s C7 e-bike displays.
Our C7 display settings are identical to the C6 and similar to the smaller L7 as well.
Let's dive in!
Jump ahead if you know what you’re looking for:
Controls Overview
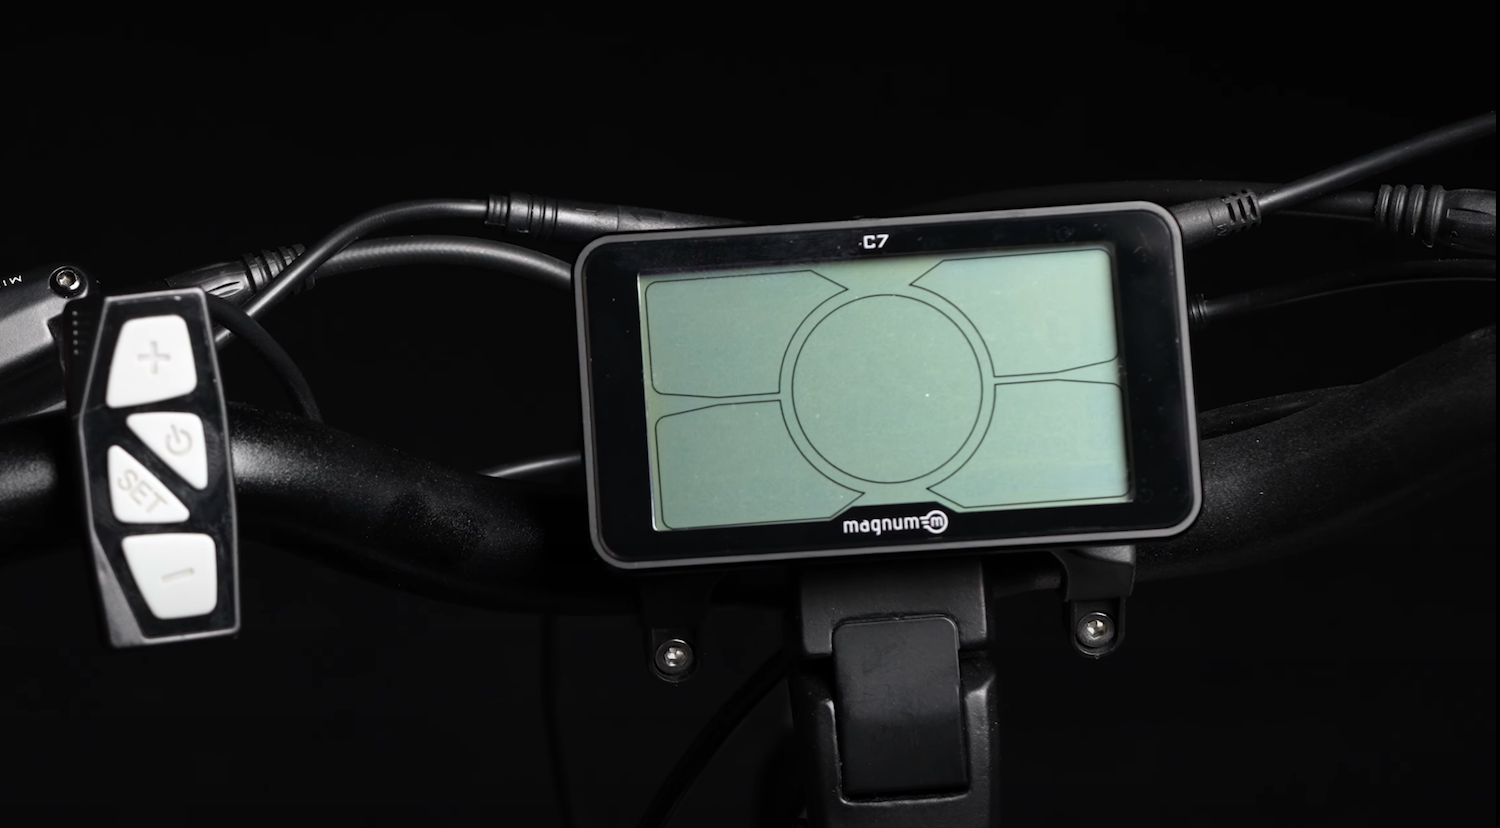
Located at the center of your handlebars, the display provides essential information.
The display controls are found on the left side:
The Plus and Minus buttons adjust your pedal assist levels
The Set button saves settings
The Power button turns the display on and off
Turning On The Display
To power on the display, wake up the battery (if required), then press and hold the Power button.
The display will go through a boot cycle before showing the main display with speed in miles per hour and kilometers.

Changing Between MPH And KPH
Switching between miles per hour and kilometers is simple. Press and hold the Plus button (about 5 full seconds), wait for the unit to flash, and use the Plus or Minus button to make the change. Press Set to save the selection.
Selecting Pedal Assist Level
After selecting your MPH/KPH settings, you can use the same screen to select pedal assist modes 1-6. If you continue pressing up, you’ll reach level 0 — pedal assist turns off.
Turning On Lights
To activate the backlight and headlight, press the Power button once.
For bikes without an integrated headlight, use the button on your headlight to turn it on manually.
While you’re here, you can see the battery voltage in the lower right corner of your display, as well as your trip odometer settings in the lower left.
Trip And Time Settings
On the same screen used to toggle your backlight and headlight off and on, press “Set” to cycle through your different odometers.
You can reset Trip 1 by pressing “Set” until Trip 1 is selected, then press and hold the Set button until Trip 1 flashes and changes back to 0.
Trip 2 and Time automatically run for each individual ride and can’t be changed. Your lifetime Odometer also can’t be changed.
Advanced Display Settings
Advanced display settings let you customize the speed of your e-bike. The C6 and C7 displays allow lots of customization.
Press and hold the Plus and Minus buttons to access these settings, and when the digits flash, use the default code 8088. You can enter that code by pressing Set, then using the up and down buttons to shift to different digits.
Now you’re in your pedal assist settings, and you can adjust the pedal assist top speed and throttle top speed to your preference.
If you don’t see your pedal assist settings, there may be an issue with the code. Reach out to Magnum Customer Support if you need to try a different code.

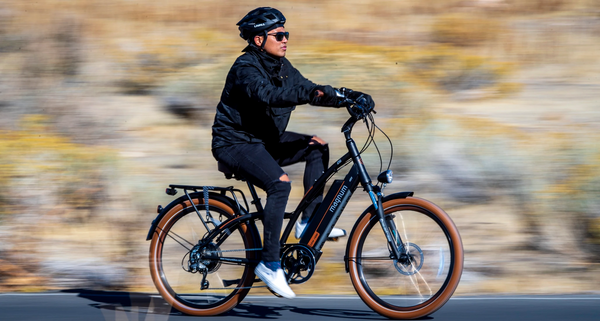
Customize your ride by selecting your preferred top speeds for both PAS and throttle. Pictured: Magnum Low Rider 2.0
Pedal Assist Top Speed
The first screen in advanced settings is your pedal assist top speed.
The maximum allowable is 28.1 mph, but you can adjust it down if that’s faster than you’d like. Choose from:
28.1
20
15.6
12.5
0 — which actually just means no maximum, and is the most powerful setting! But please obey local regulations — in most locations, assisted e-bike speeds over 28 mph are illegal
Once you’ve selected the maximum speed you want, press Set once to move on.
Throttle Top Speed
Our maximum throttle speed tops out at 20 mph. But whatever you selected for your pedal assist speed, your throttle speed cannot be higher than that.
So you can't set pedal assist at 12 mph and your throttle at 20 mph. Your display will automatically reduce your throttle’s top speed to the pedal assist top speed you selected, or lower.
Choose from:
20 (only if pedal assist max speed is 20 or 28.1)
12.5 (works with any pedal assist max speed)
3.7 (works with any pedal assist max speed — barely noticeable, but the maximum allowed in certain countries)
Once you’ve selected the appropriate throttle max speed, press Set once to move on.
Tire Size Measurement
The next setting is tire size, which should be set to the complete diameter of your wheel including the tire.
By default this will match the tires your e-bike came with, but if you purchase different wheels or tires at any point, make sure to adjust accordingly.
This gives you the most accurate distance traveled on your odometer.
Once you’ve selected the right tire size, press Set once.
Odometer
The next screen is your odometer, which can’t be changed. That way, you’ll always have an accurate record of how many miles your e-bike has traveled.
Press Set once to move on.
Voltage
Next, it's going to show us the voltage the system is set for.
C7 displays work on both 36V and 48V e-bikes. Make sure this shows the accurate voltage setting for your e-bike, then press Set once to move on.
Power, Normal, Or Eco Settings
By toggling through your Power, Normal, or Eco settings, you can change how aggressive or torquey your ride is.
It will still have the same top speed settings that you set up in your pedal assist and throttle top speed modes, but it will just get up to speed a little bit slower and maybe use a little less battery in Normal or Eco modes.
Press and hold Set when you have your preferred setting.
Walk Mode
Now that we’ve gone through the essential settings, let’s talk about another fun one: Walk Mode.
This is really handy if you’re walking your bike for a while and don’t want to have to push its full weight. Let the e-bike do the work for you at a walking speed!

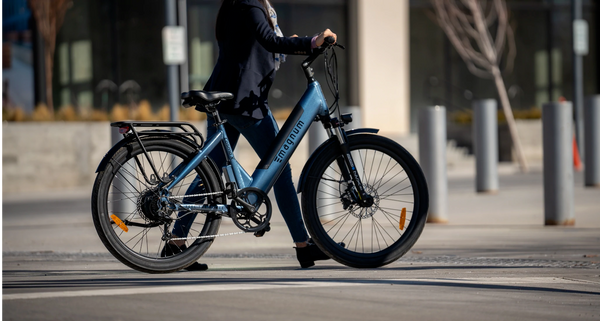
Walk Mode makes it easier to walk with your e-bike thanks to light motor assistance! Pictured: Magnum Cosmo X
Just press and hold the down button while you walk. You’ll see “6km” pop up below your speedometer, and it will slowly flash as long as Walk Mode is engaged.
You’ll need to hold the down button for your full walk in order to continue using Walk Mode.
Customer Support
If you have any questions about this display, another display, or anything on your Magnum bike, you can always reach out to Magnum Bikes Customer Support.

