How To Remove And Inspect Your E-Bike’s Mechanical Disc Brake Caliper And Brake Pads
Your e-bike’s brakes are among the most important parts of the bike. That’s because it’s impossible to have a safe ride without safe brakes. So the better you understand how your brakes function, how to inspect them, and how to maintain them, the better off you’ll be.
We’ll review the difference between mechanical and hydraulic disc brakes (including which Magnum e-bikes feature mechanical brakes vs. hydraulic brakes), the importance of regular inspections and maintenance, and how to remove and reinstall your mechanical caliper yourself.
Safety Warning: If you are unclear about any of the information described in your e-bike manual, this article, or the video linked at the end of this article, please make an appointment with a Magnum dealer to service your bike. Improper brake maintenance, repair, or installation can result in serious injury or death.
Prefer to watch a video? No problem — jump ahead to watch!
Mechanical vs. Hydraulic Disc Brakes
All bike brakes work by pressing brake pads against a surface on the wheel to create friction and slow the bike down. The biggest difference between the mechanical and hydraulic disc brakes is efficiency. While both options perform better than traditional rim brakes, particularly if it’s wet conditions, mechanical disc brakes struggle to match the efficiency of hydraulic systems.
While there are significant variations in the quality, durability, and performance of many e-bike brake brands and styles, the essential function is the same. With both mechanical and hydraulic brakes, a rider slows and stops their e-bike by activating the brake, pressing brake pads against part of the bike’s wheel to slow its rotation.
But that’s where the similarities end.
Here are the key differences in mechanical vs. hydraulic disc brakes on e-bikes:
Magnum E-Bike Models With Mechanical Brakes


Why Your Safety Depends On Regular Brake Inspection
Without proper maintenance, both mechanical and hydraulic disc brakes are subject to compromised performance. At best, this can mean reduced brake responsiveness, resulting in increased time to reach a full stop. At worst, it may result in total failure, putting you at risk of a crash, serious injury, and even death.
What’s more, despite your efforts to regularly maintain your brakes, incorrectly performed maintenance or repairs can damage your bike.
Loose brake pads can fall out while riding, leaving you unable to stop. Improperly installed brakes can also cause damage to your rotor. At that point, you not only need to replace the brakes (again) but also other parts of your bike.
That’s why regular and comprehensive brake inspection, maintenance, and occasional replacement are essential steps to safe and responsible e-bike ownership. And when in doubt, make an appointment with a trusted dealer or repair shop to handle anything you aren’t sure about.
Is The Mechanical Brake Caliper Removal Process The Same On All E-Bikes?
Not a Magnum E-Bike owner? If you have a rear hub motor e-bike with mechanical disc brakes, the steps to remove your mechanical caliper will be similar to what we describe here. However, you should consult your own manual or manufacturer with any questions.
And whether you’re a Magnum E-Bike owner or not, if you should need to remove your full brake system (rotor and all), please consult a dealer or repair shop with experience for your specific bike. Improper installation of your brake system can result in severe damage, crash risk, and even death.
Equipment You Will Need
Bolt sizes will vary across models. Be sure to choose the tools that match your unique bike.
- Allen wrench(es) that match your retainer bolt and derailleur guard bolt size (ex. 3mm and 5mm wrench)
- Needle-nose pliers
- 60-80 grit sandpaper
- Rag or cloth
- 99% isopropyl alcohol
How To Remove The Mechanical Caliper On Your E-Bike
Here’s how to remove your mechanical brake caliper for pad inspection or replacement.
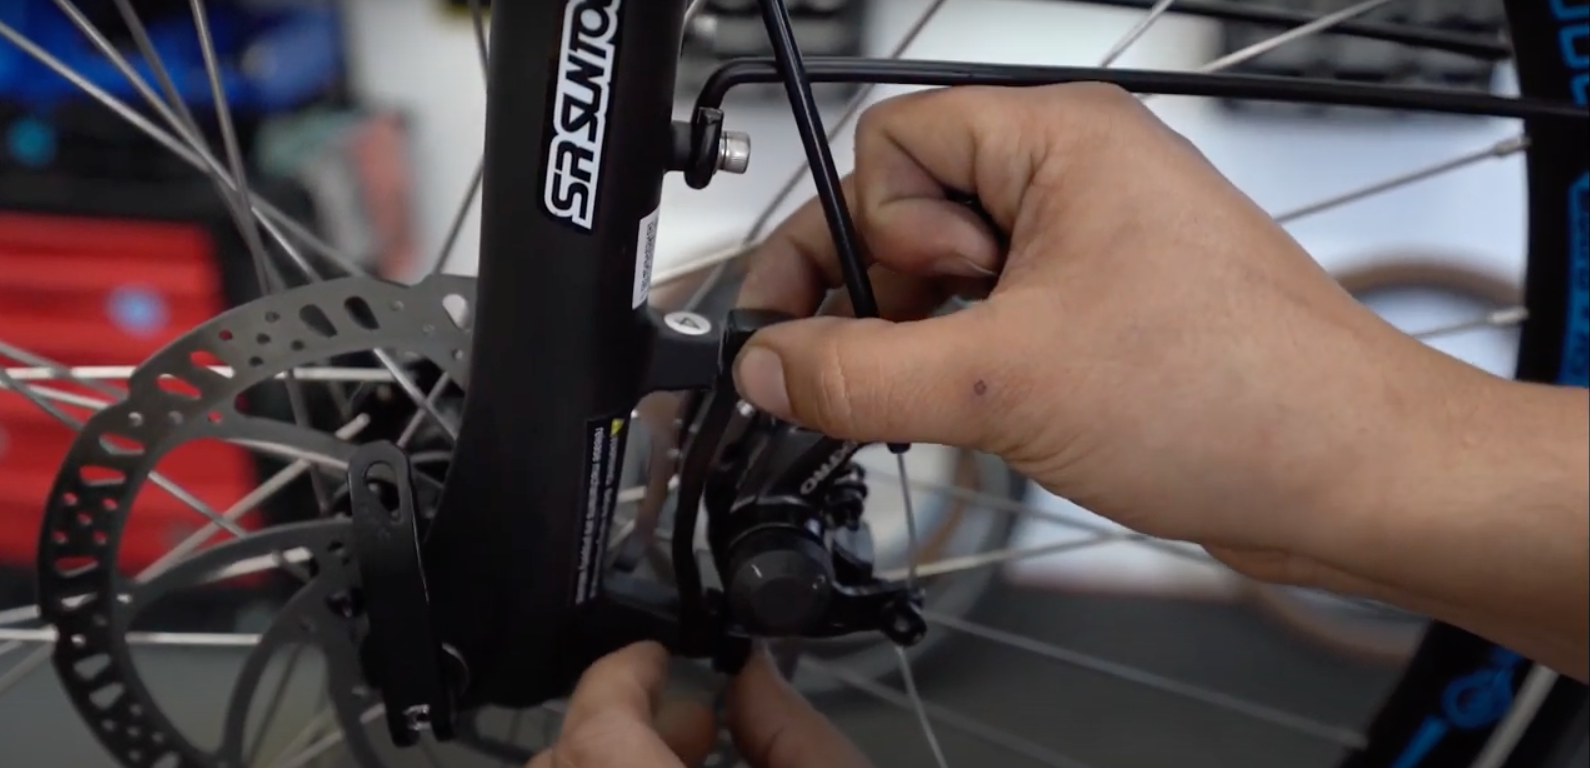
Step 1: Remove Bolts And Adapter
First, locate the bolts holding your brake caliper to the rear triangle. There will be one at the top and one at the bottom. Take the appropriate wrench for your bike and remove both of those bolts.
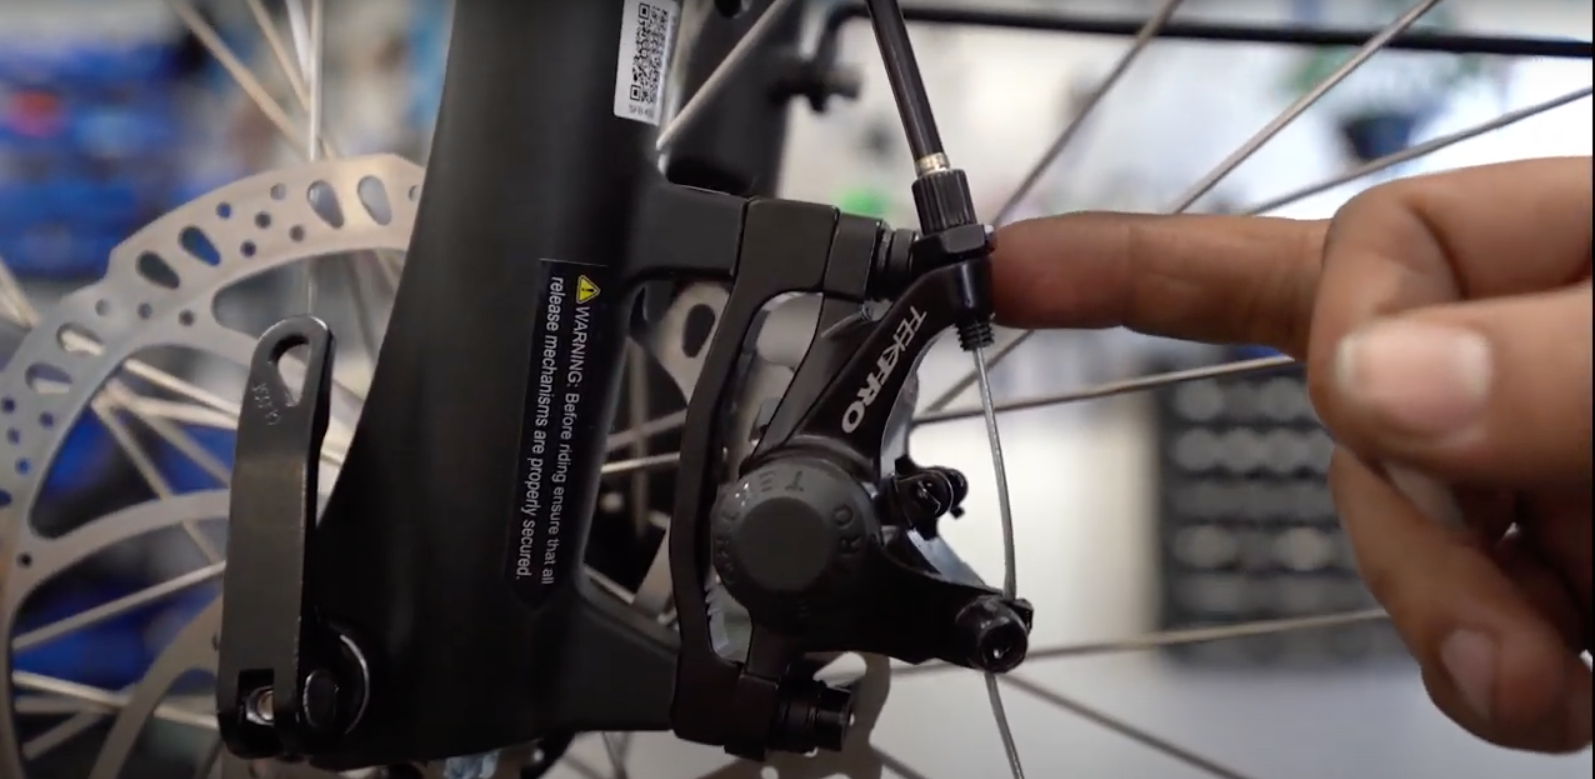 Loosen and remove the bolts holding on your brake caliper.
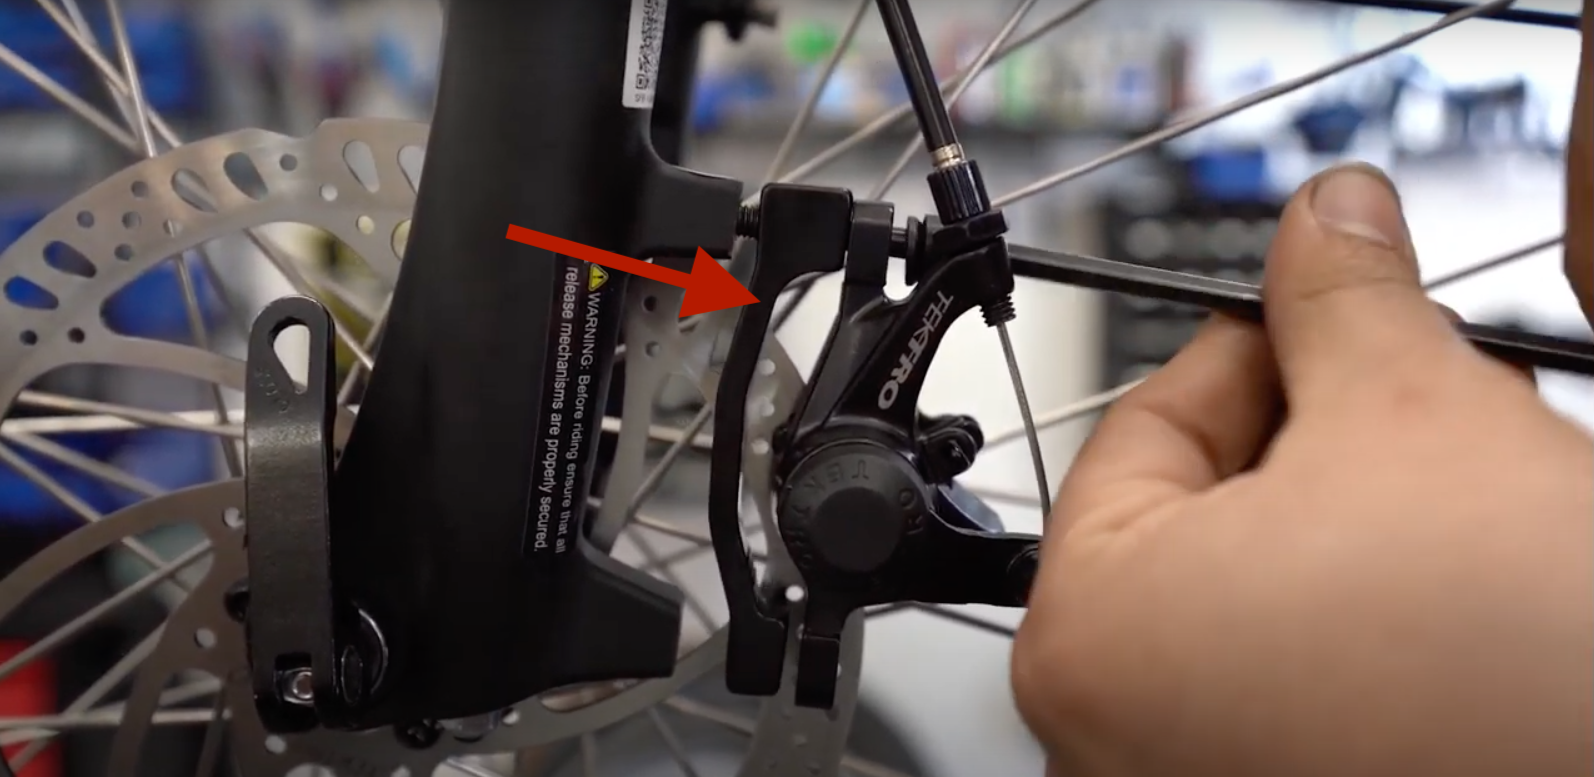 The adapter is the piece in the middle, located between the caliper and the rear triangle.
Step 2: Remove Cotter Pin
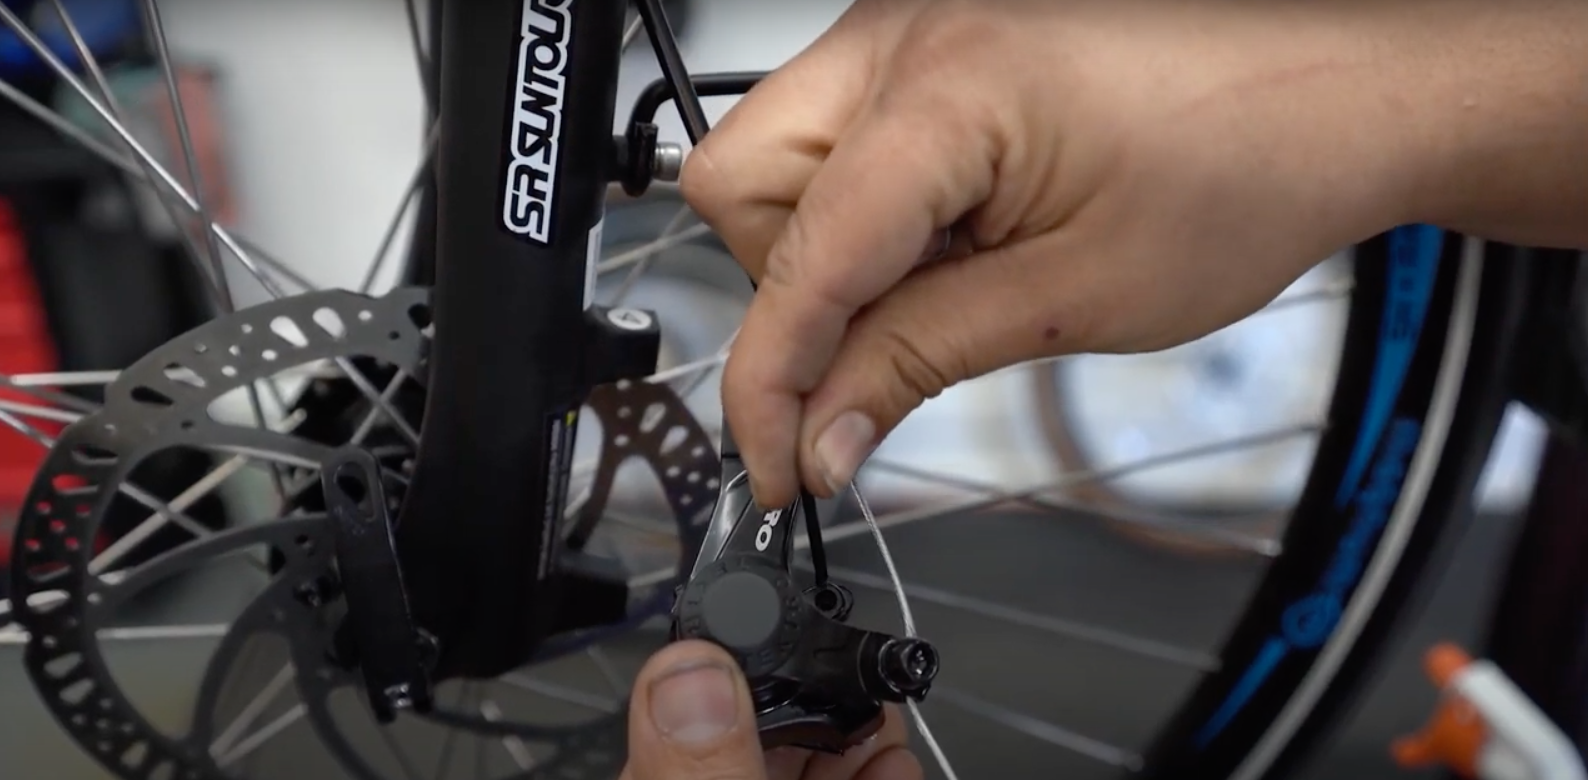
Now find the cotter pin that secures the brake pads inside the caliper. It’s a metal pin with a looped head; the pin end is bent to keep it secured in place.
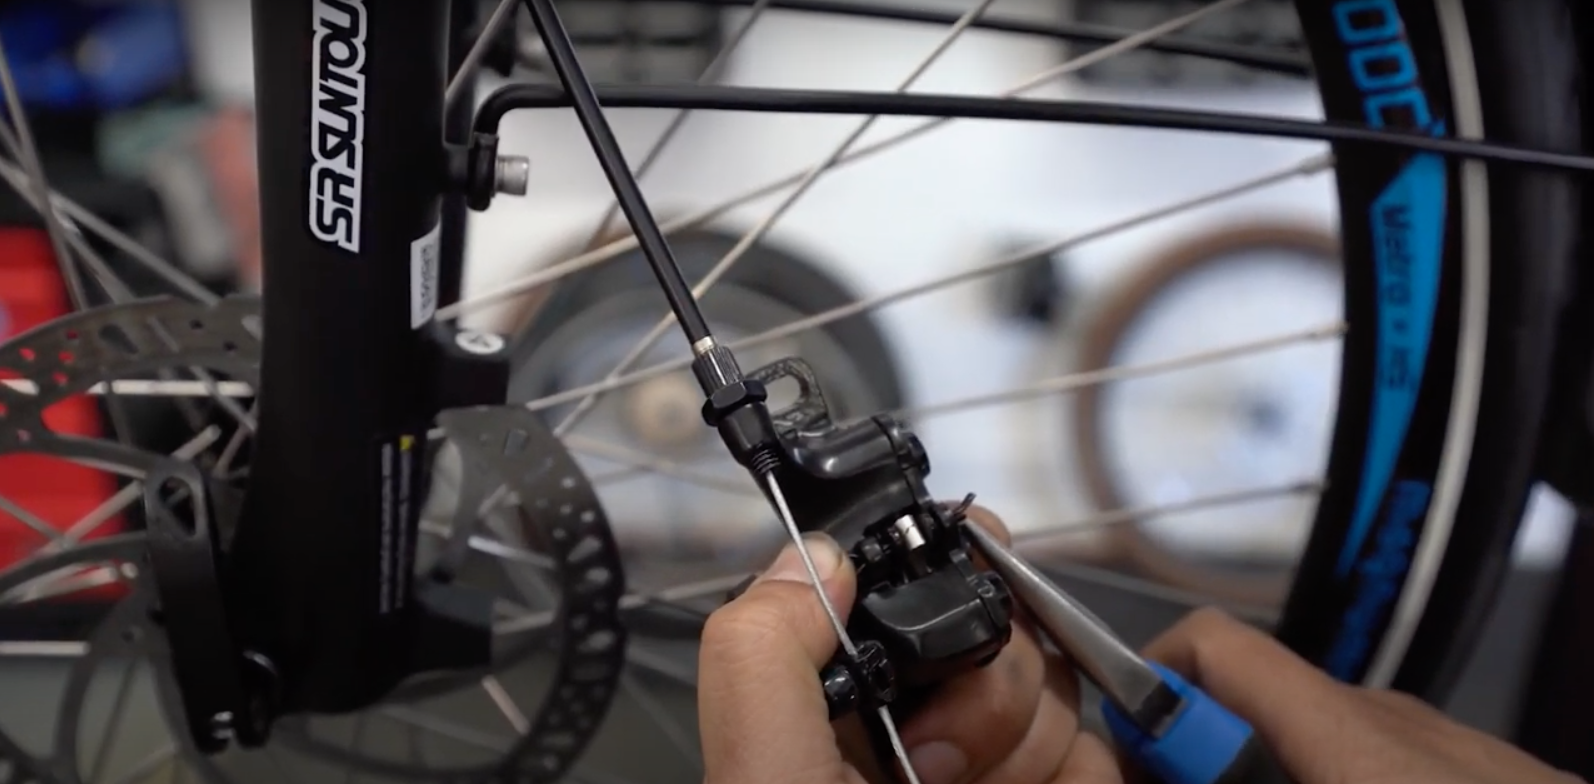 Use long pliers to bend the cotter pin end until it’s straight.
Step 3: Remove Brake Pads
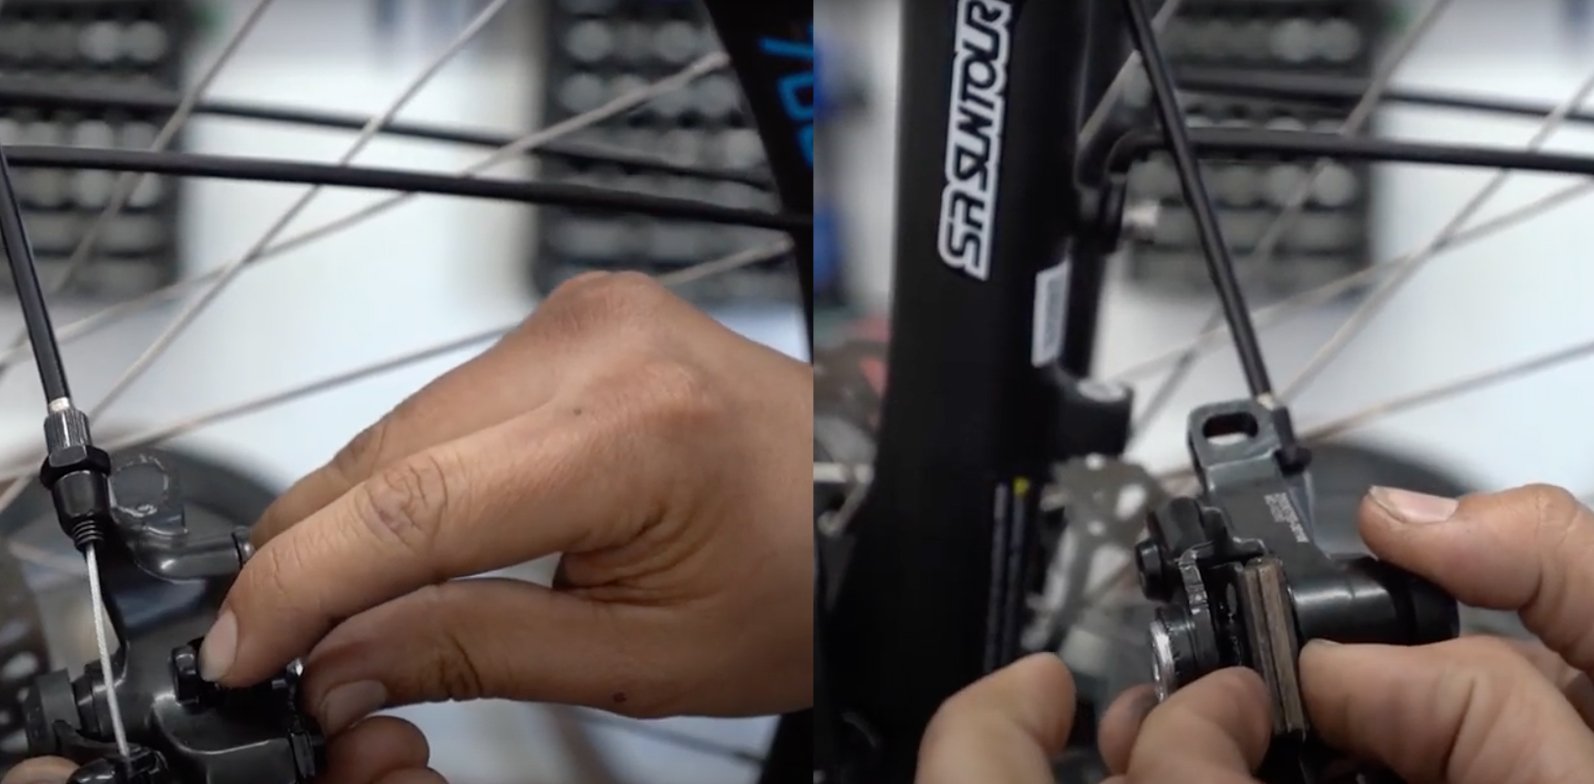
Gently push down on the mechanism that’s underneath where the cotter pin used to be. Now flip the caliper around; you’ll see that the brake pads are emerging from the caliper.
Inspecting Your Brake Pads
When examining your brake pads, there are several key things to look for:
- Integrity: Make sure there are no chunks, indents, or pieces missing. If there are, replace the damaged brake pads before your next ride.
- Thickness: There should be at least 1.5mm of pad material remaining. If you don’t have a ruler handy, a grain of rice is about 1.5mm thick (width, not length). If the pads are thinner than that, it’s time to replace them.
- Cleanliness: Your brake pads should be free of oil and other contaminants. If they’re dirty, and especially if they’re oily (a big safety hazard!), they need to be replaced.
Cleaning And Reinstalling Your E-Bike’s Mechanical Brakes
To clean your caliper, spray the inside (where your brake pads used to be) with a solution of 99% isopropyl alcohol. Two quick spritzes should do it.
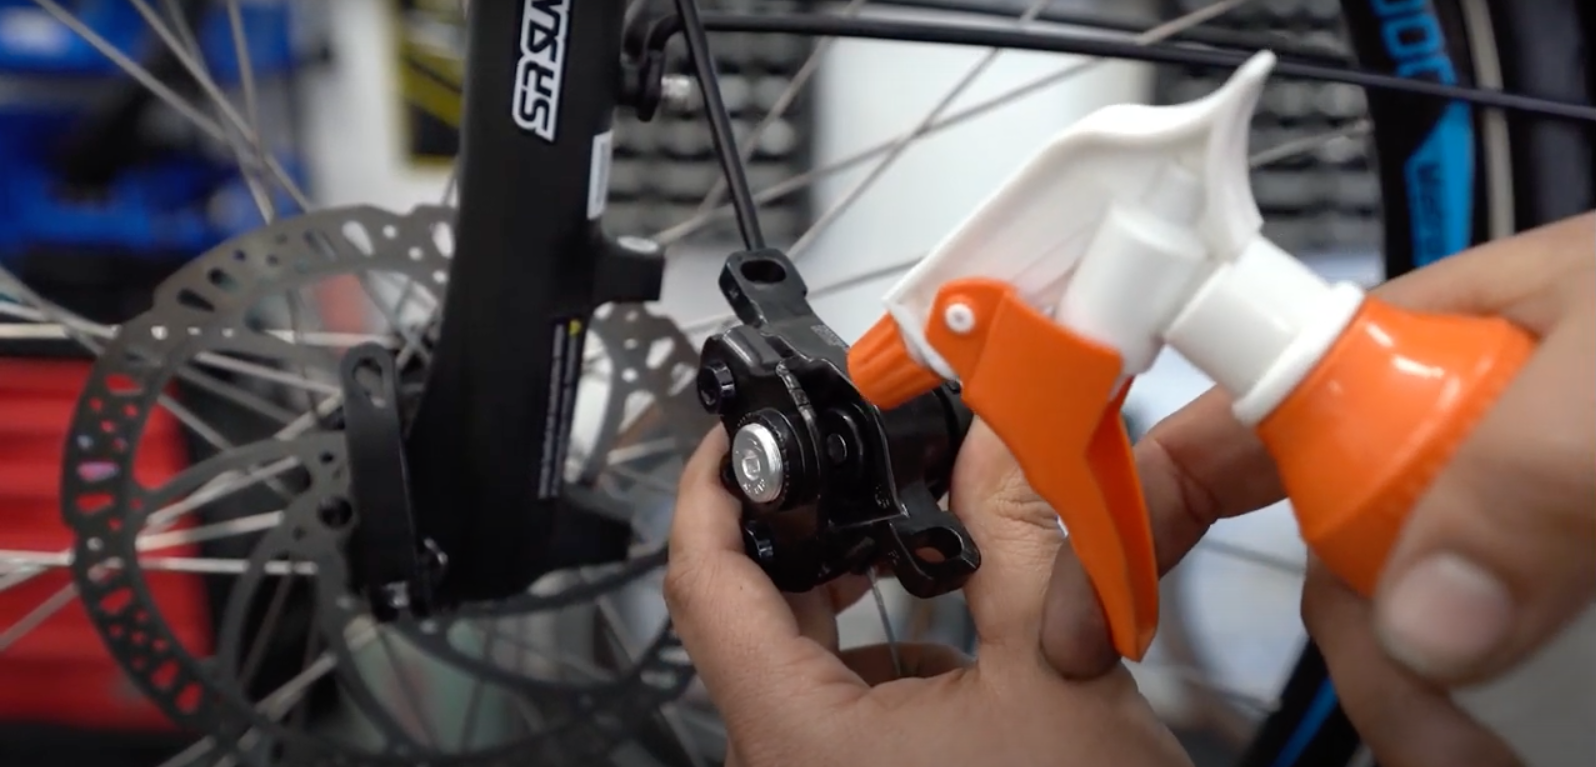 Spray the inside of your caliper with a couple spritzes of 99% isopropyl alcohol.
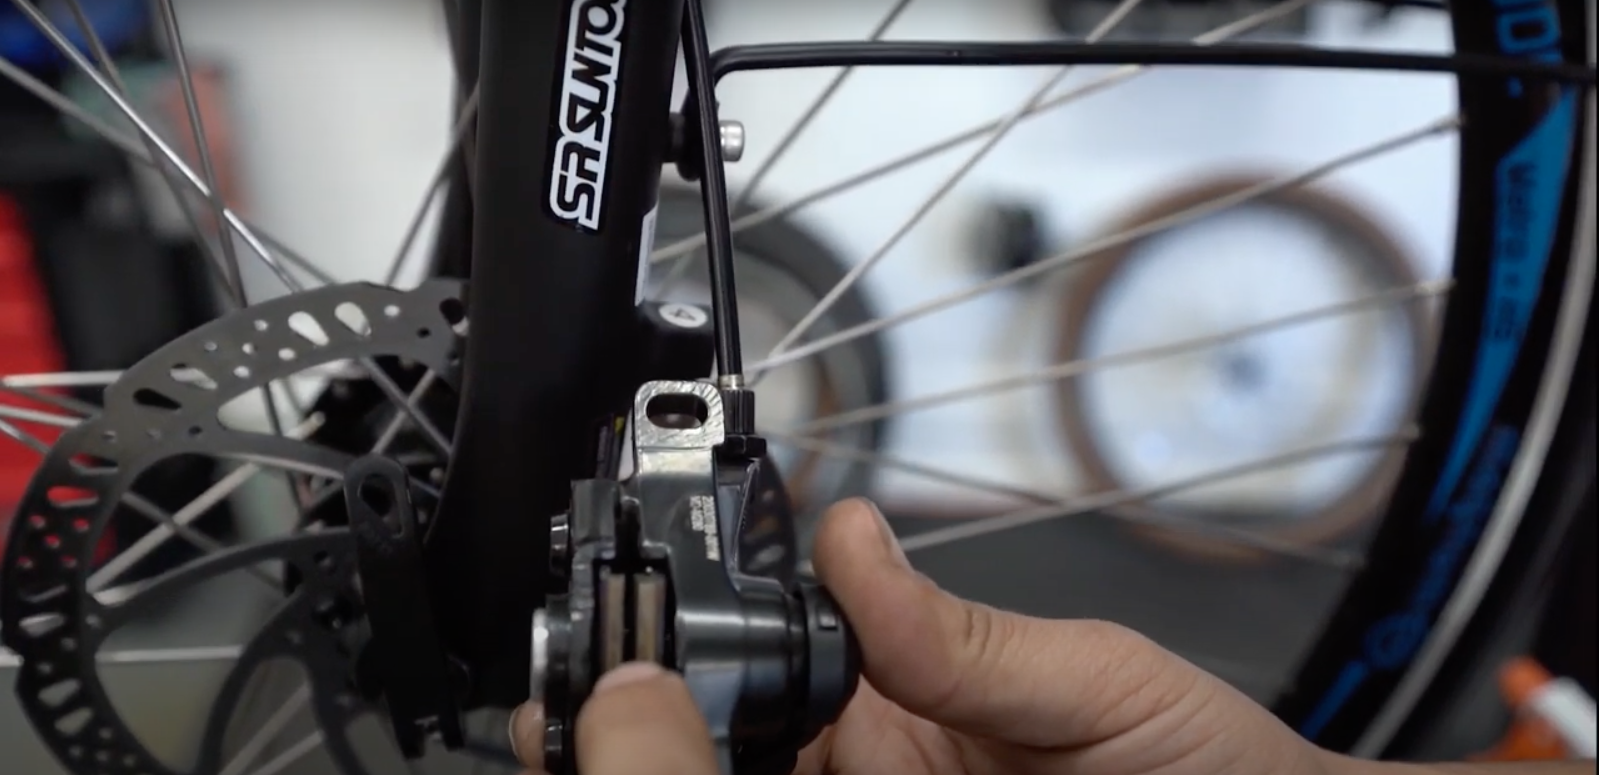
 Reinsert your cotter pin and bend back into place at a 90-degree angle.
Find the space in between the 2 brake pads (also known as your pad gap) and place it onto the rotor so that the rotor sits between the pads.
Find your adapter and place it back behind the caliper.
Top Tips For Mechanical Disc Brake Care And Maintenance
1. Check brake lever pressure. Check this before every ride to ensure you can stop comfortably and safely.
2. Check brake pads. We recommend checking your brake pads weekly to ensure they are operating as they should.
3. Lubricate brakes and cables CAREFULLY. Your brakes and brake cables should be lubricated monthly, depending on use. Only use lubricants designed for mechanical brakes. Contaminating the brake pads or rotor with oil can lead to brake malfunction.
- Hear a noise when braking, or feel a lack of responsiveness on your brakes? You may have exposed them to oil!
- Stop riding and take your bike in for service if this happens.
4. Adjust cable tension as needed. Mechanical disc brake pads consist of 1 mobile pad and 1 stationary pad. Over time, the stationary pad wears down, so you need to adjust the cable tension to compensate! Don’t attempt this at home; take your bike to a reputable shop to adjust.
5. Replace brakes and cables as needed. Depending on use, you can expect to replace the brake pads and cables on your mechanical disc brakes annually.
Watch The Video